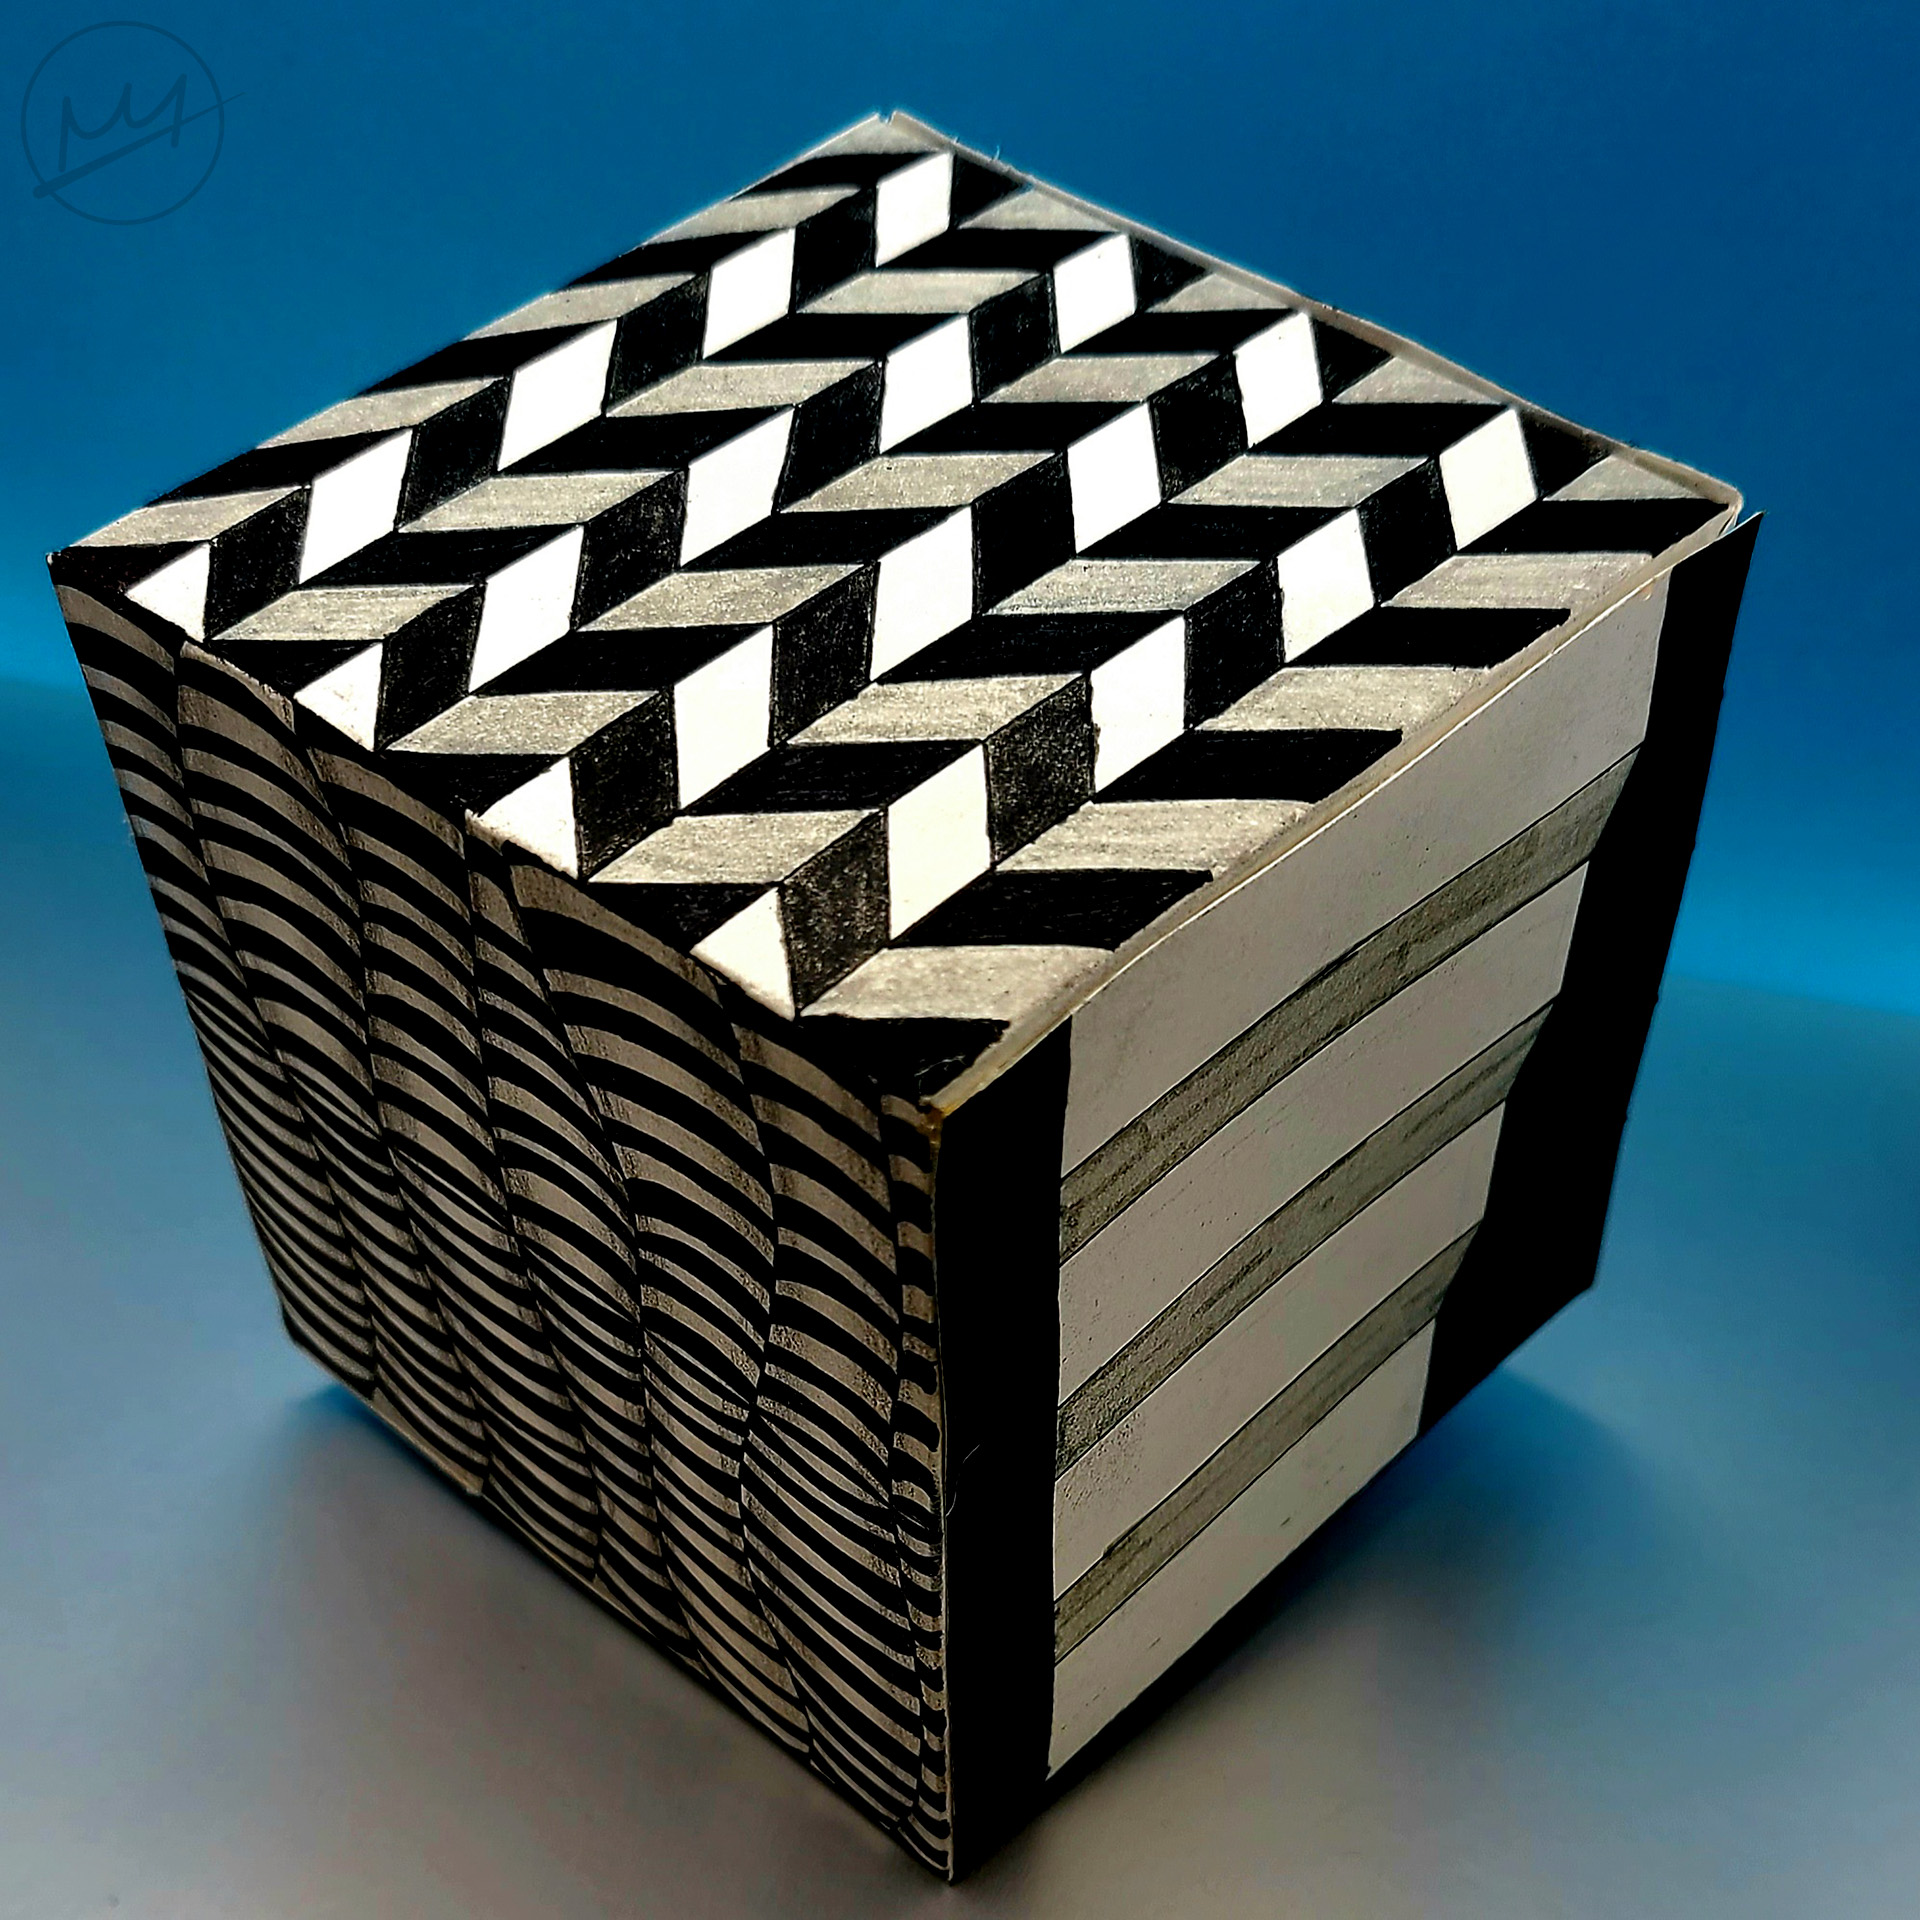
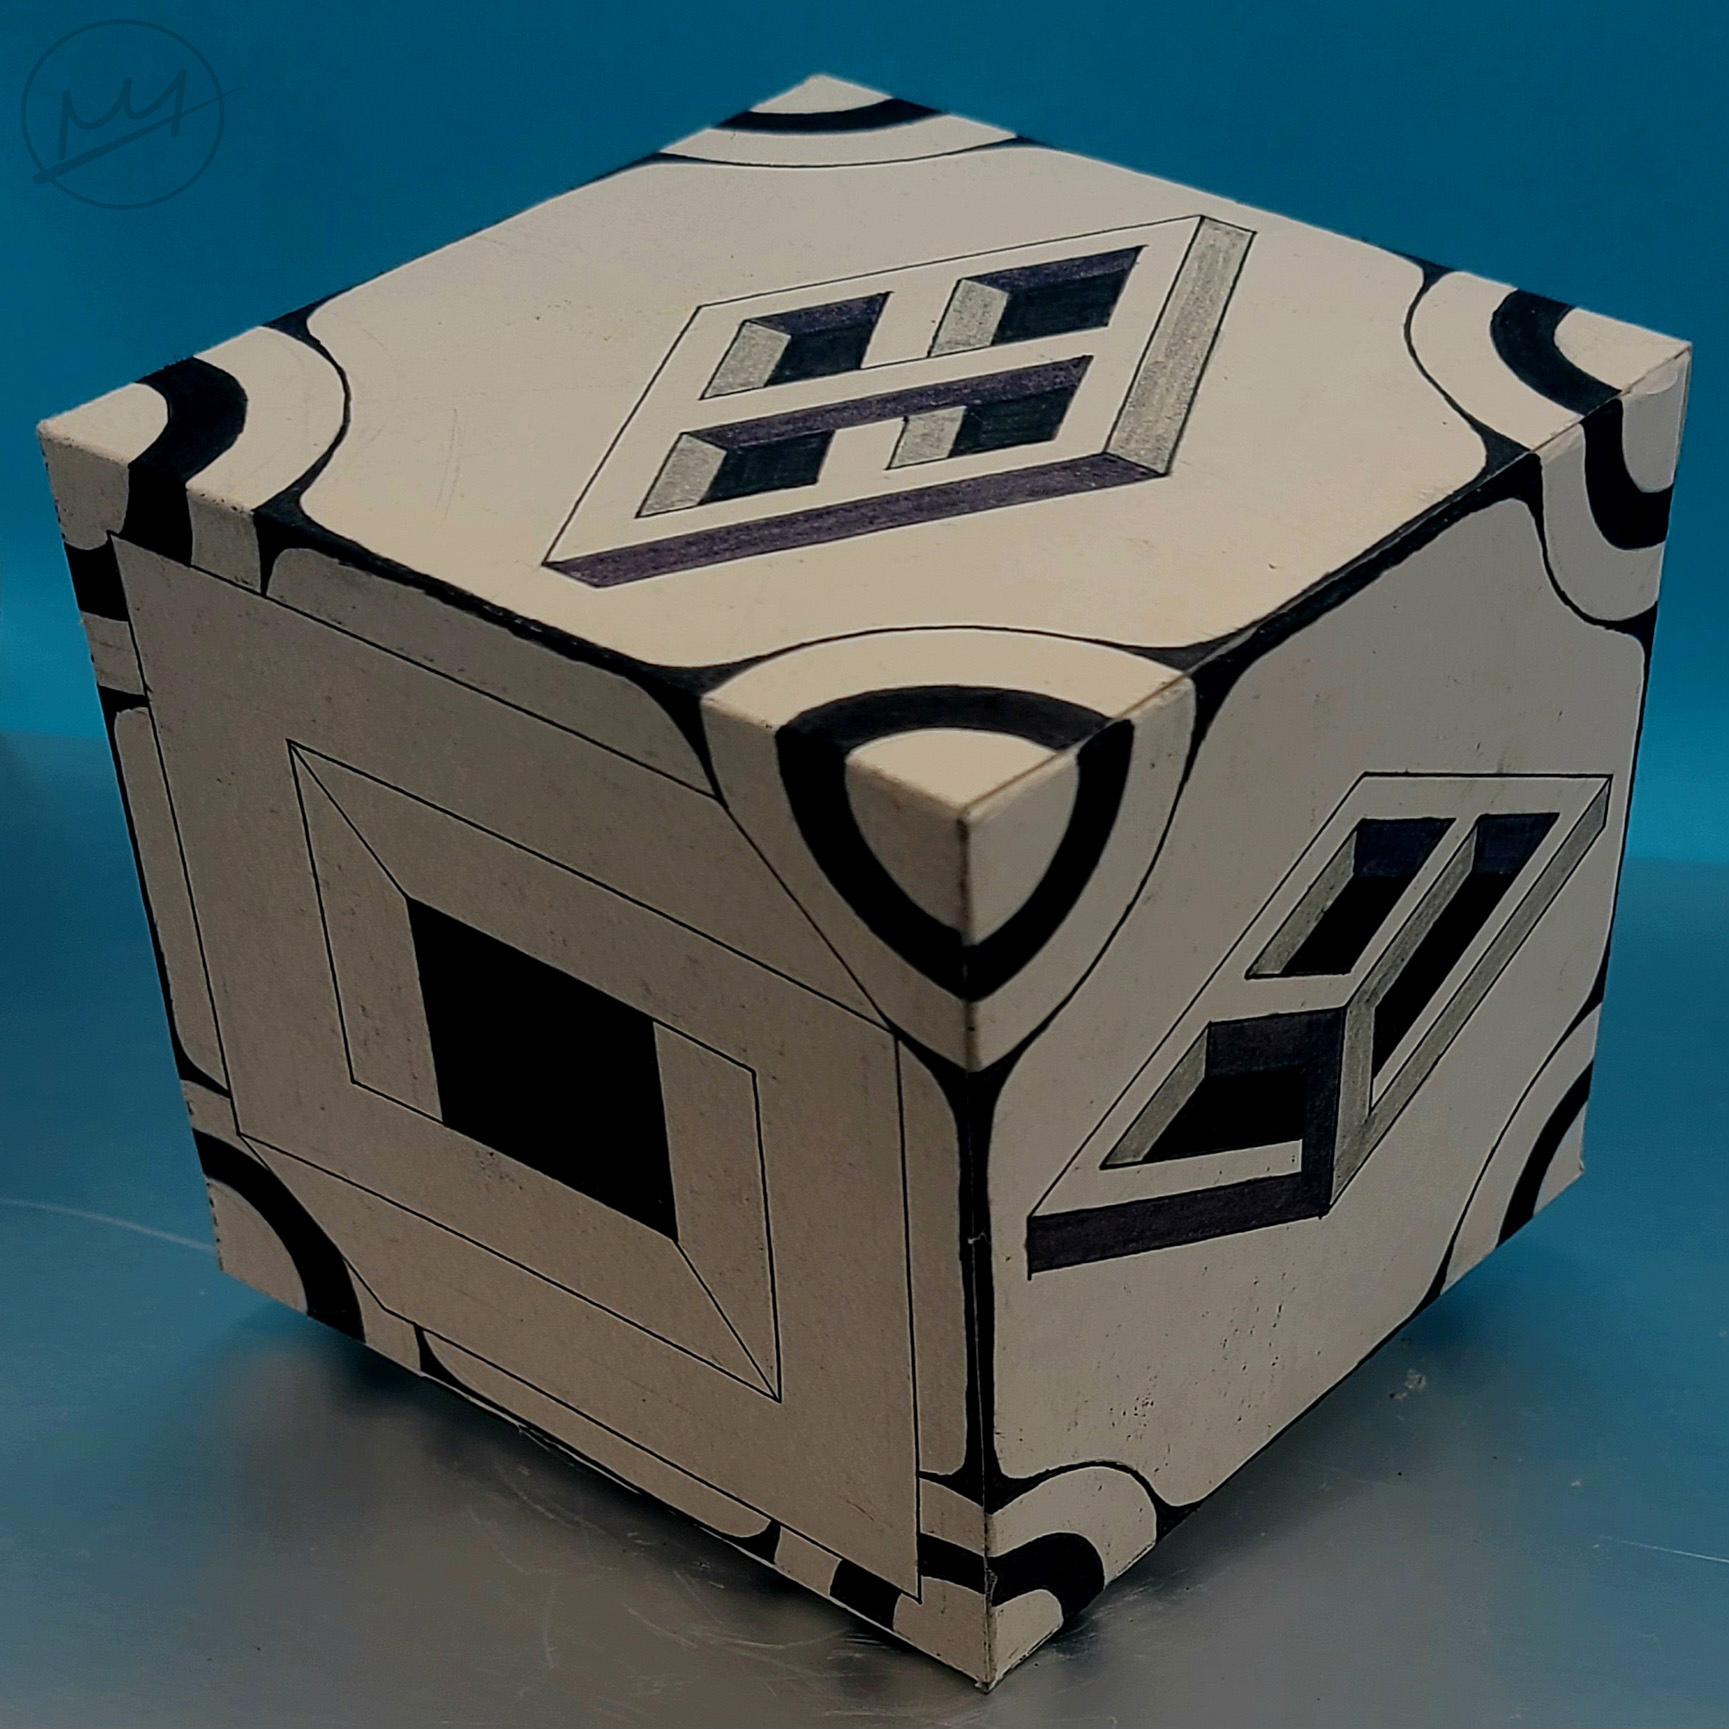
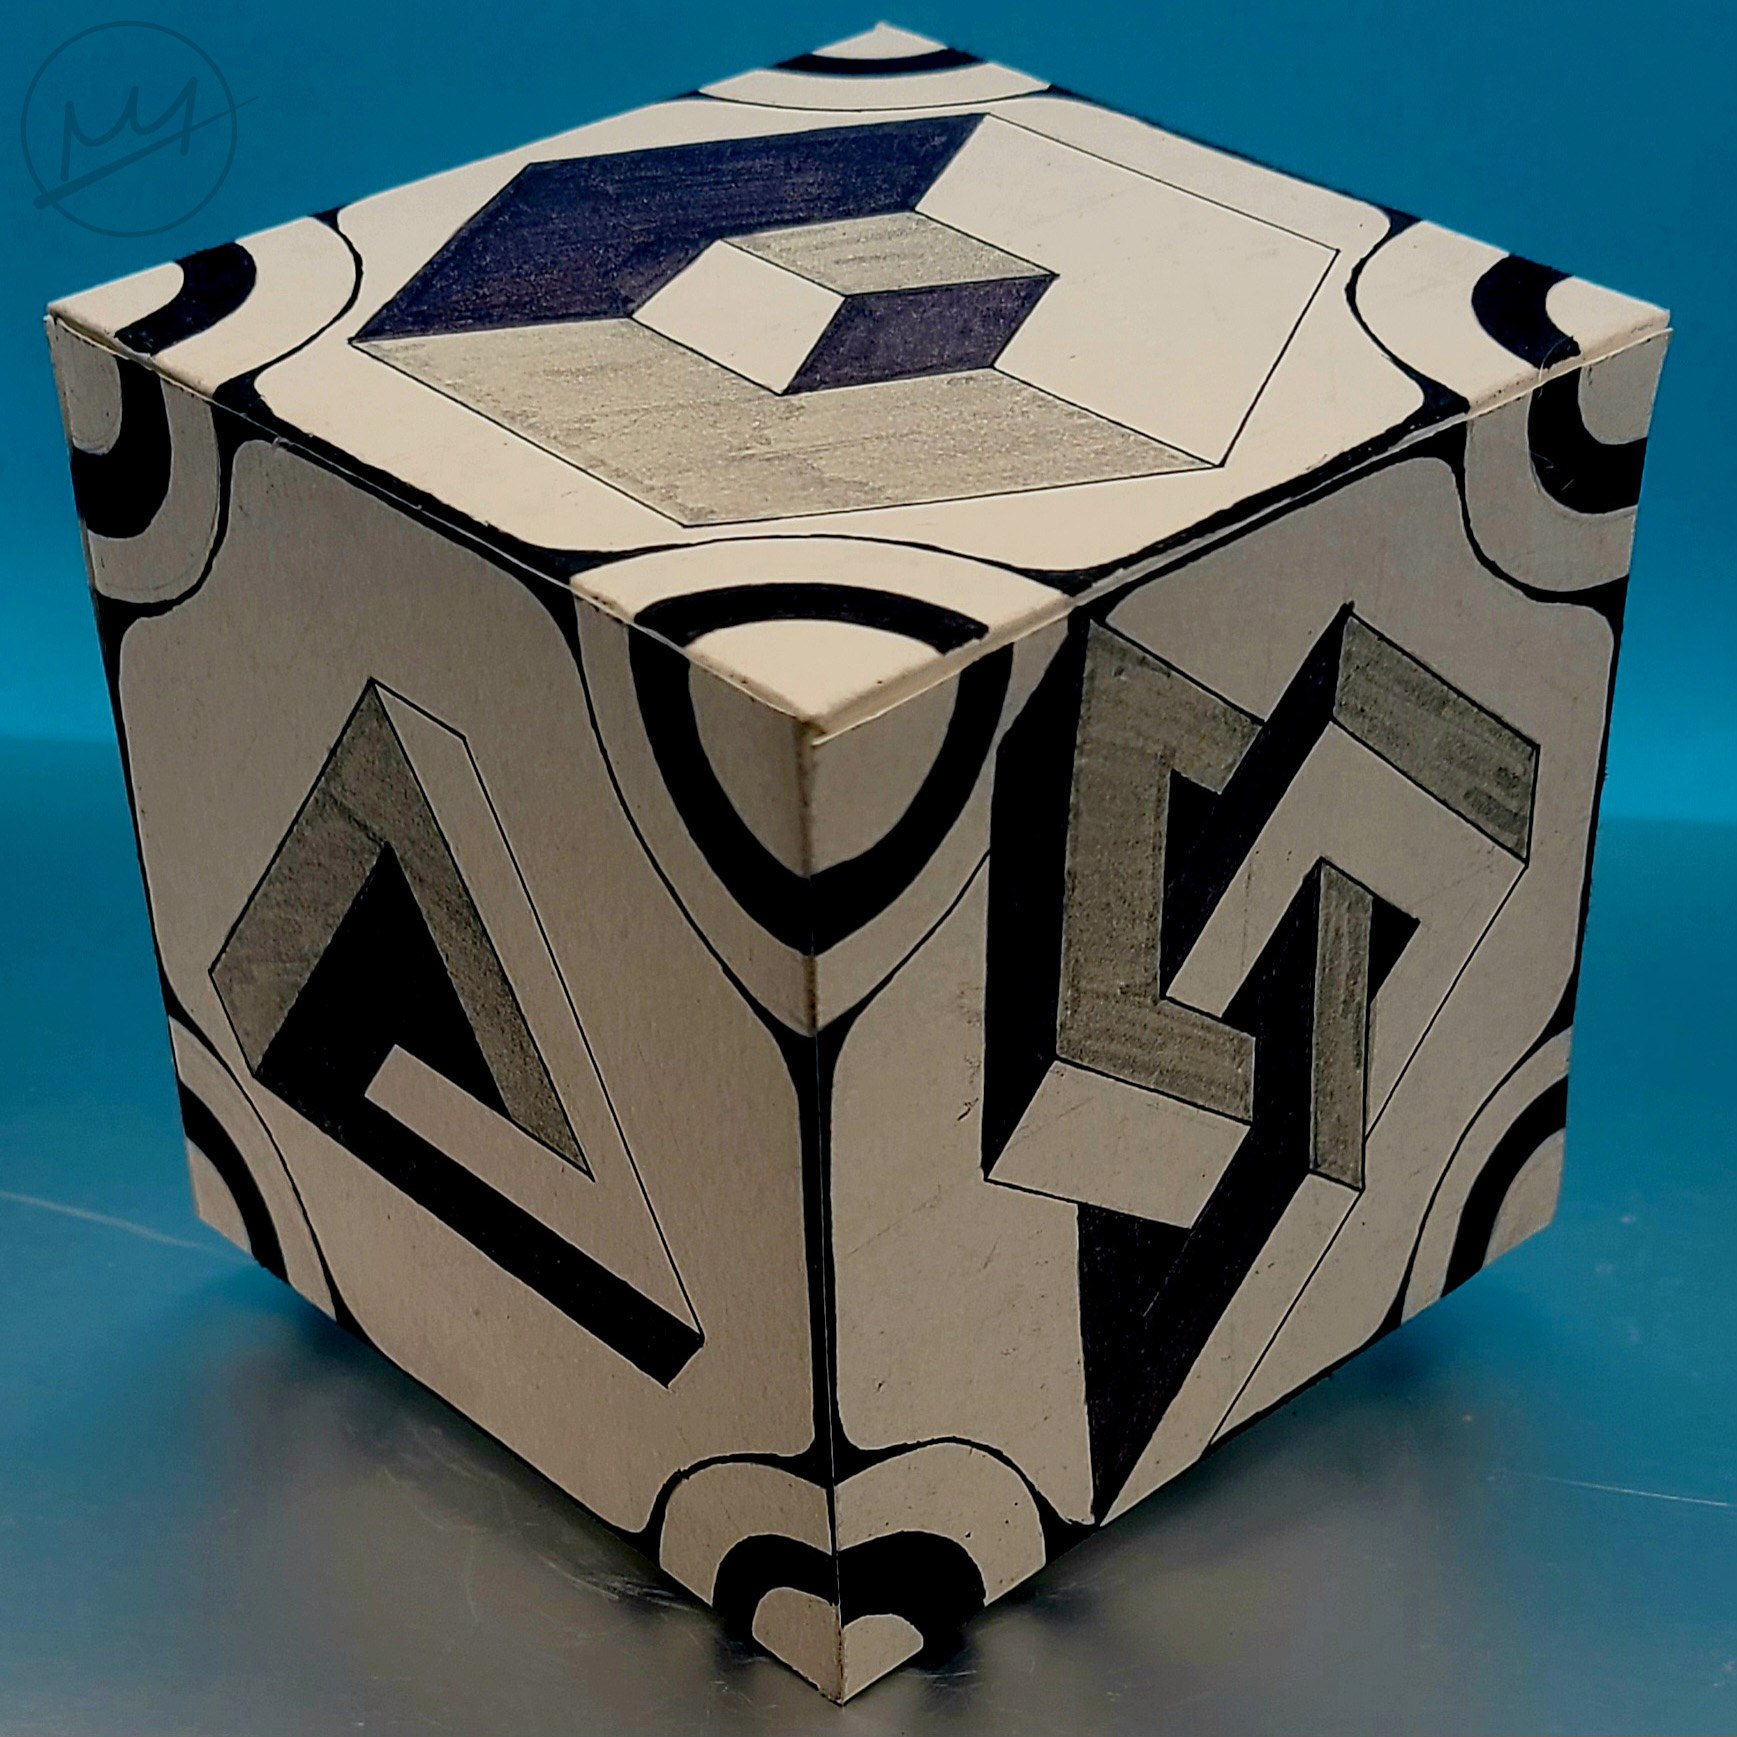

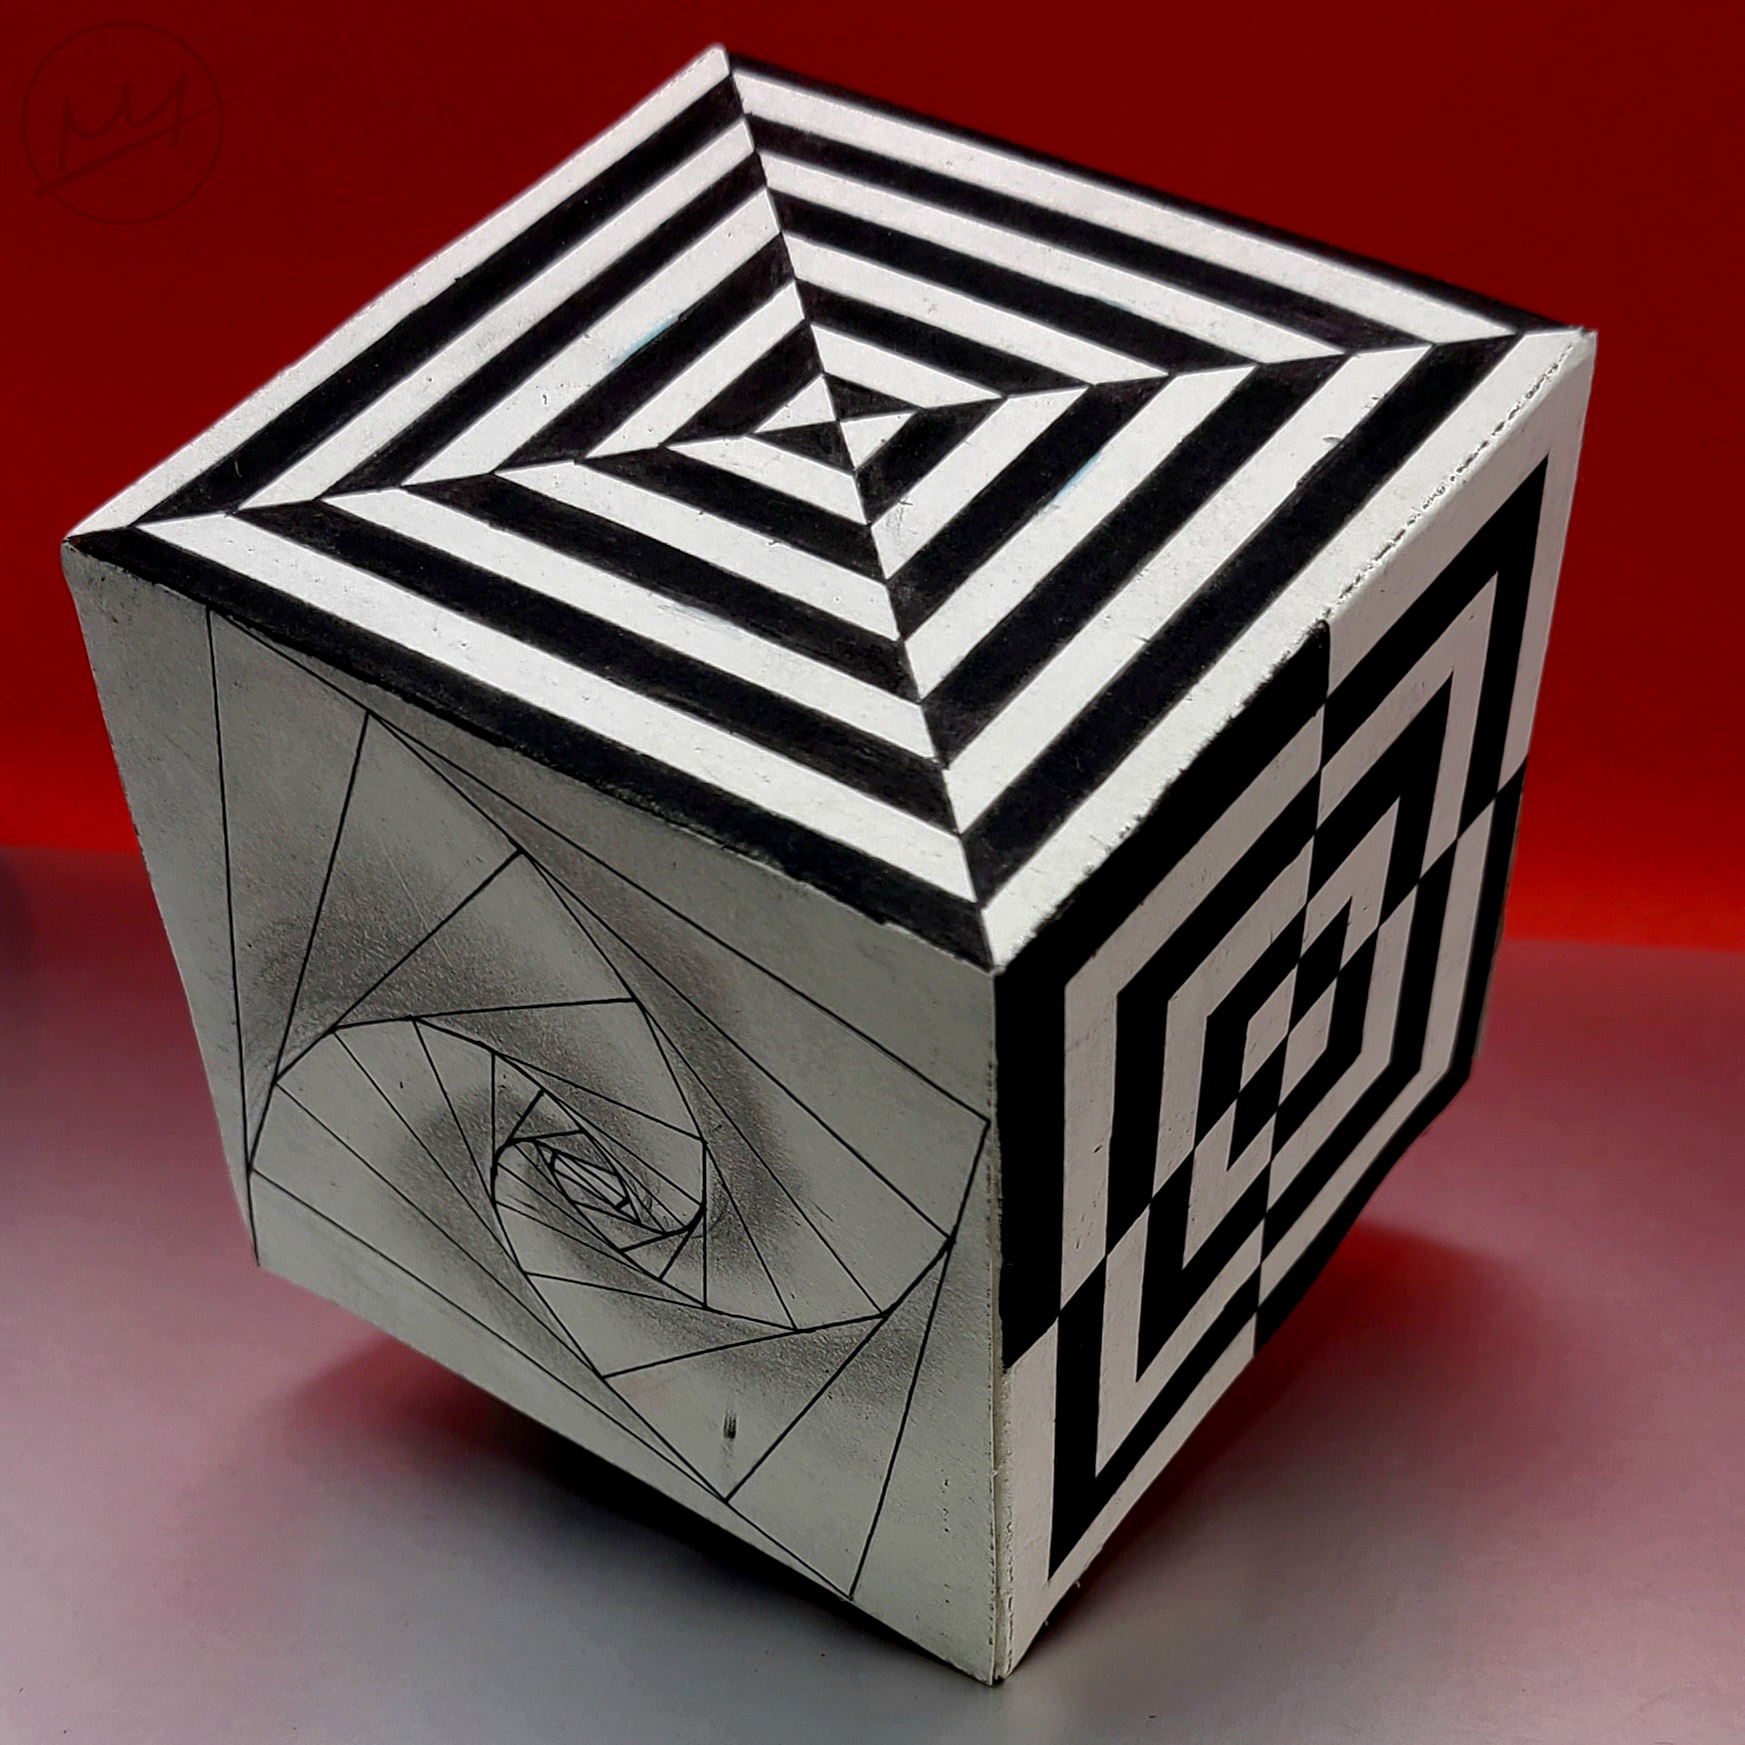
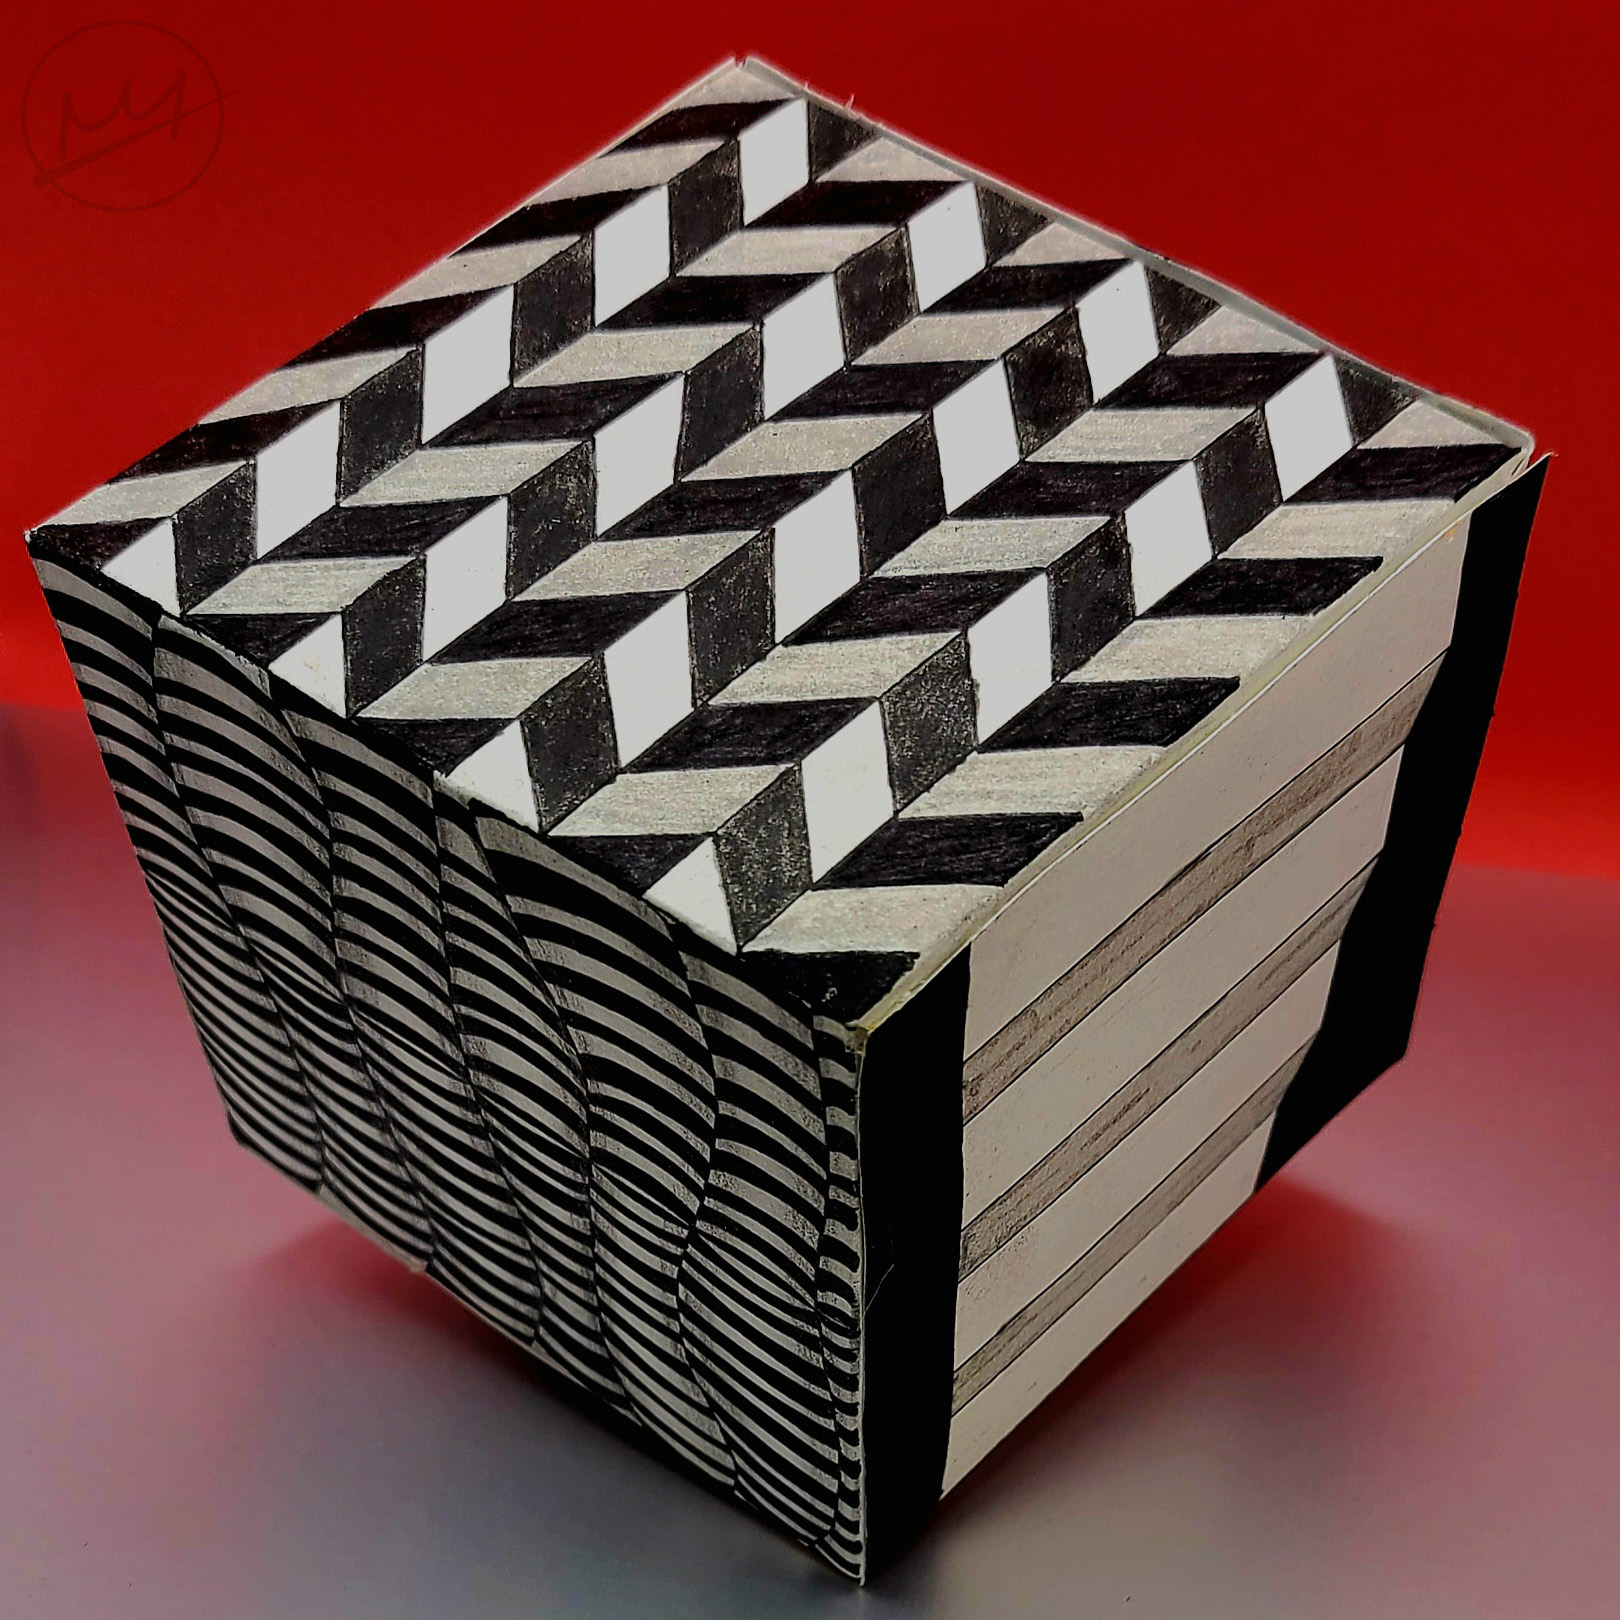
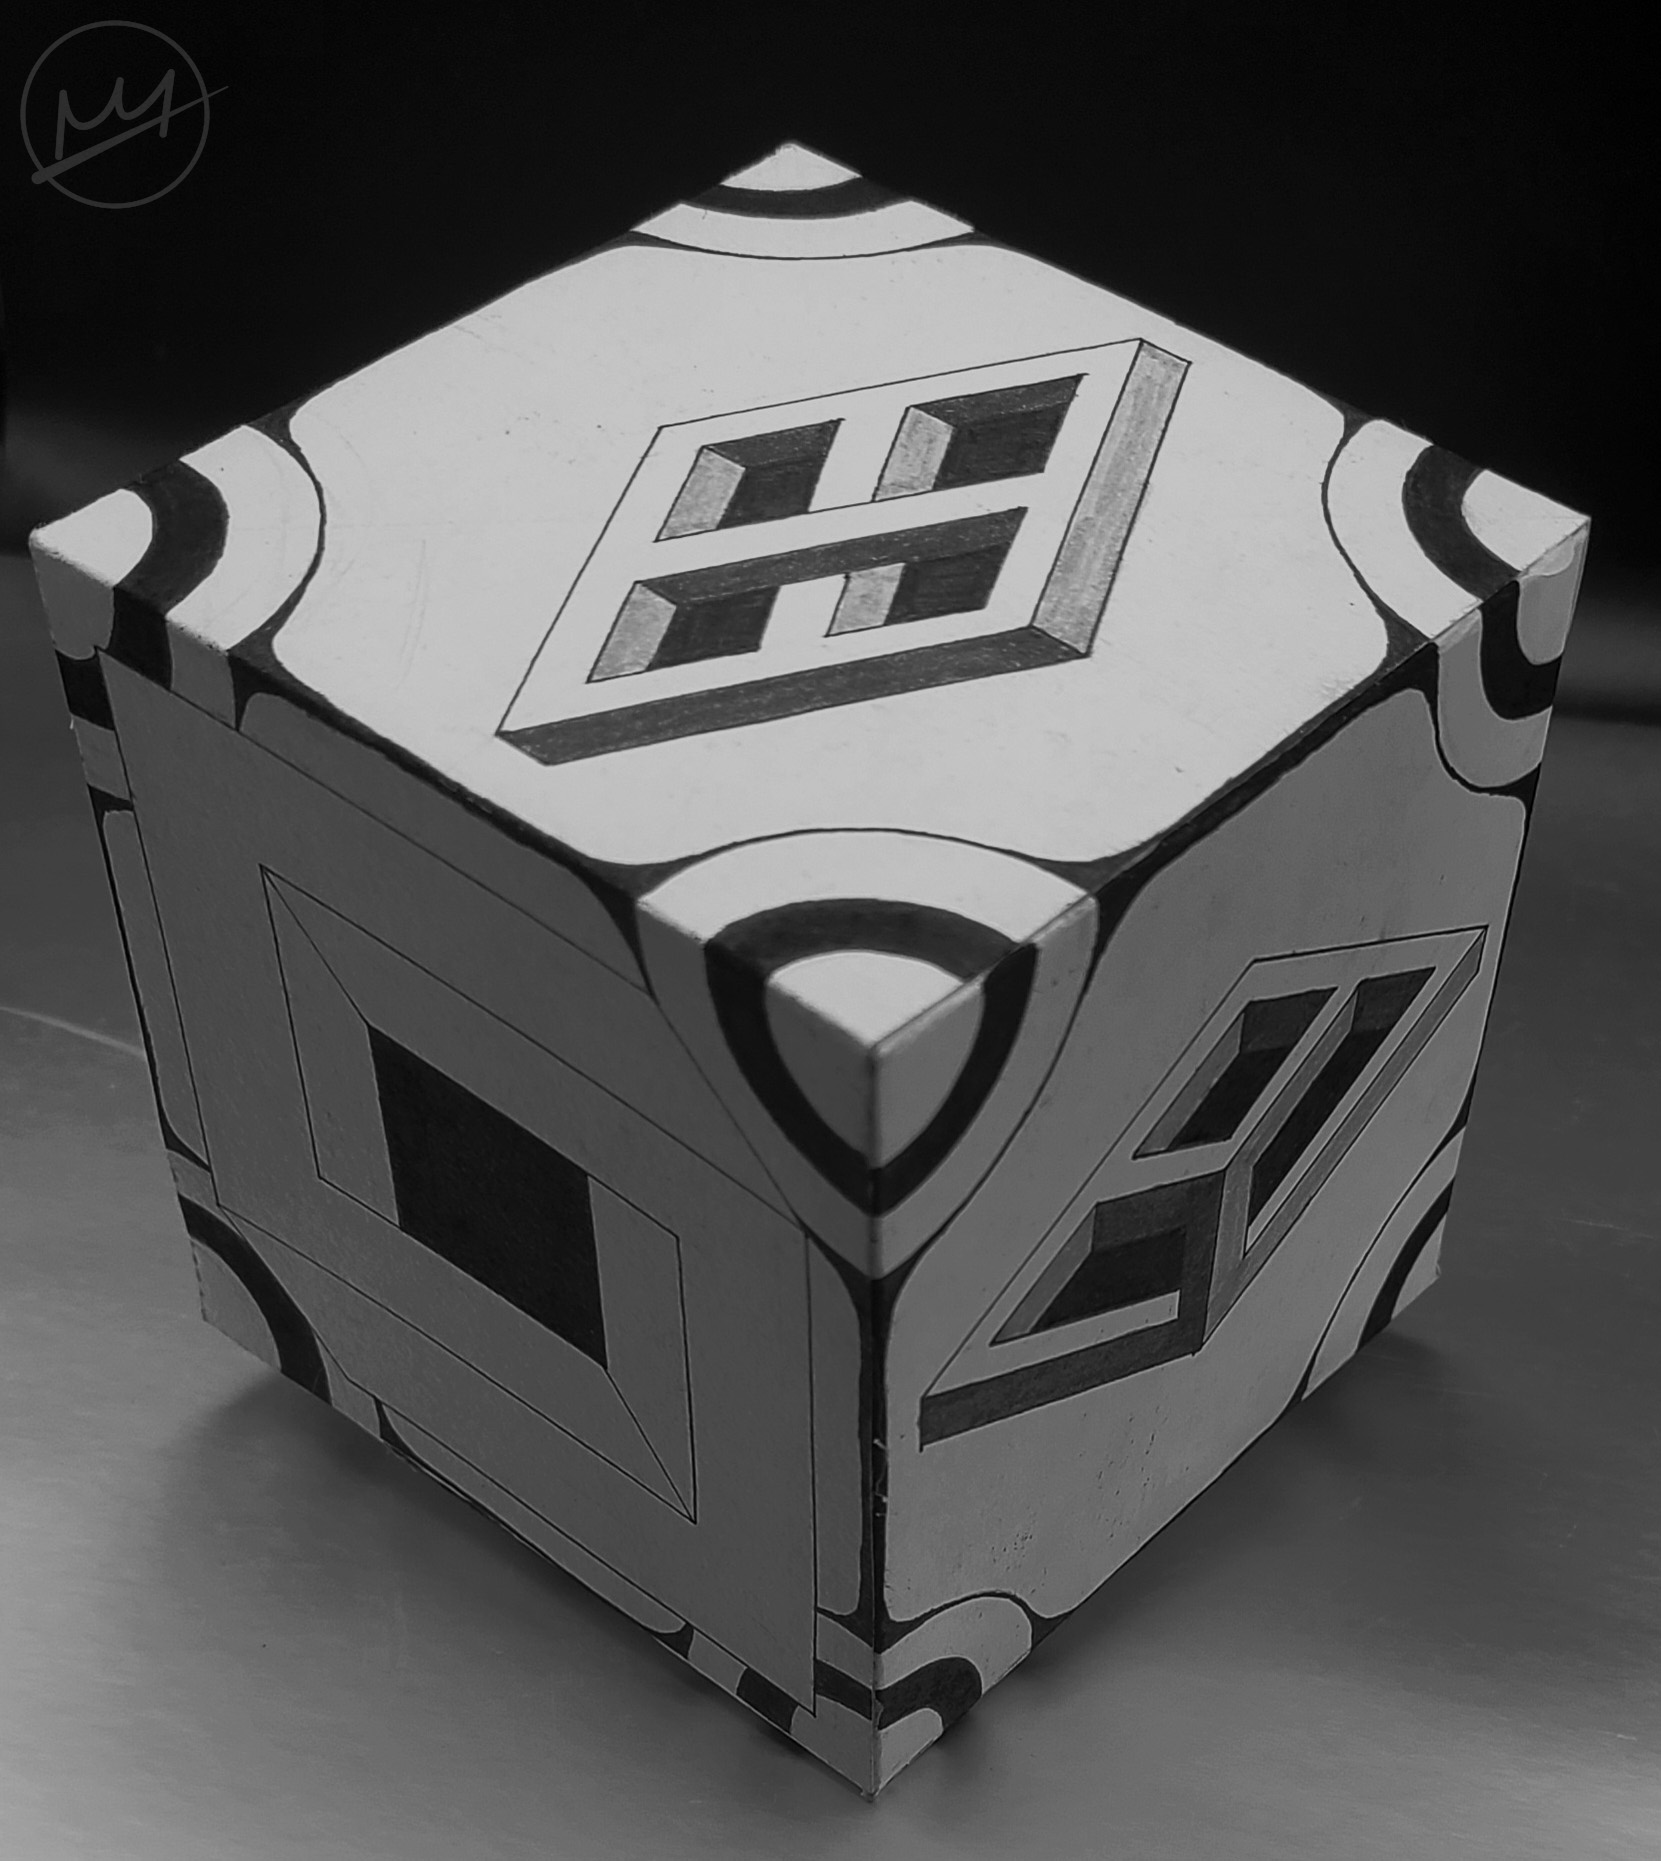
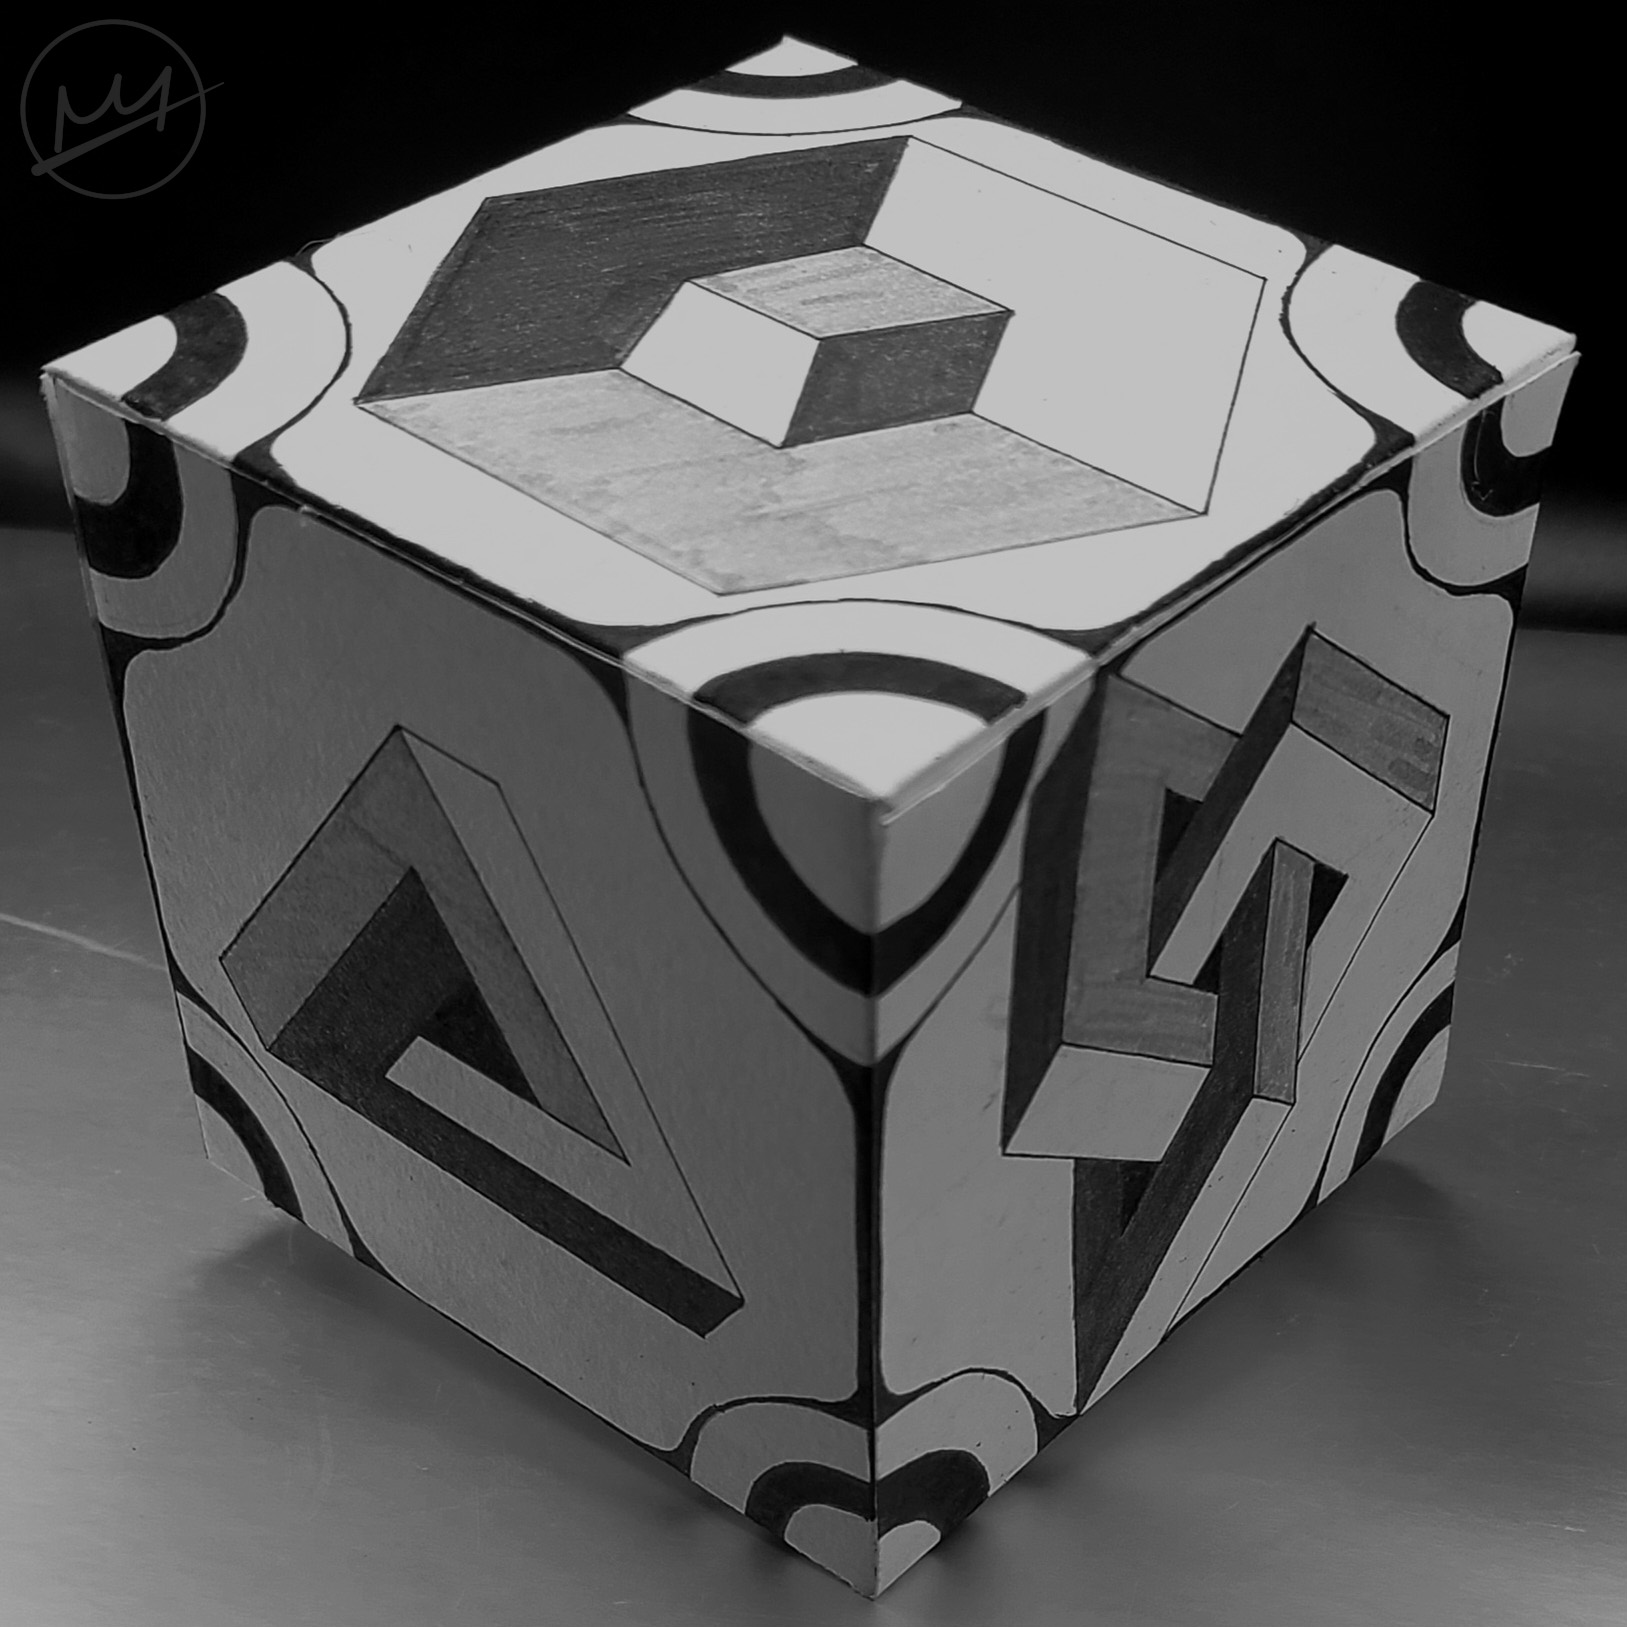
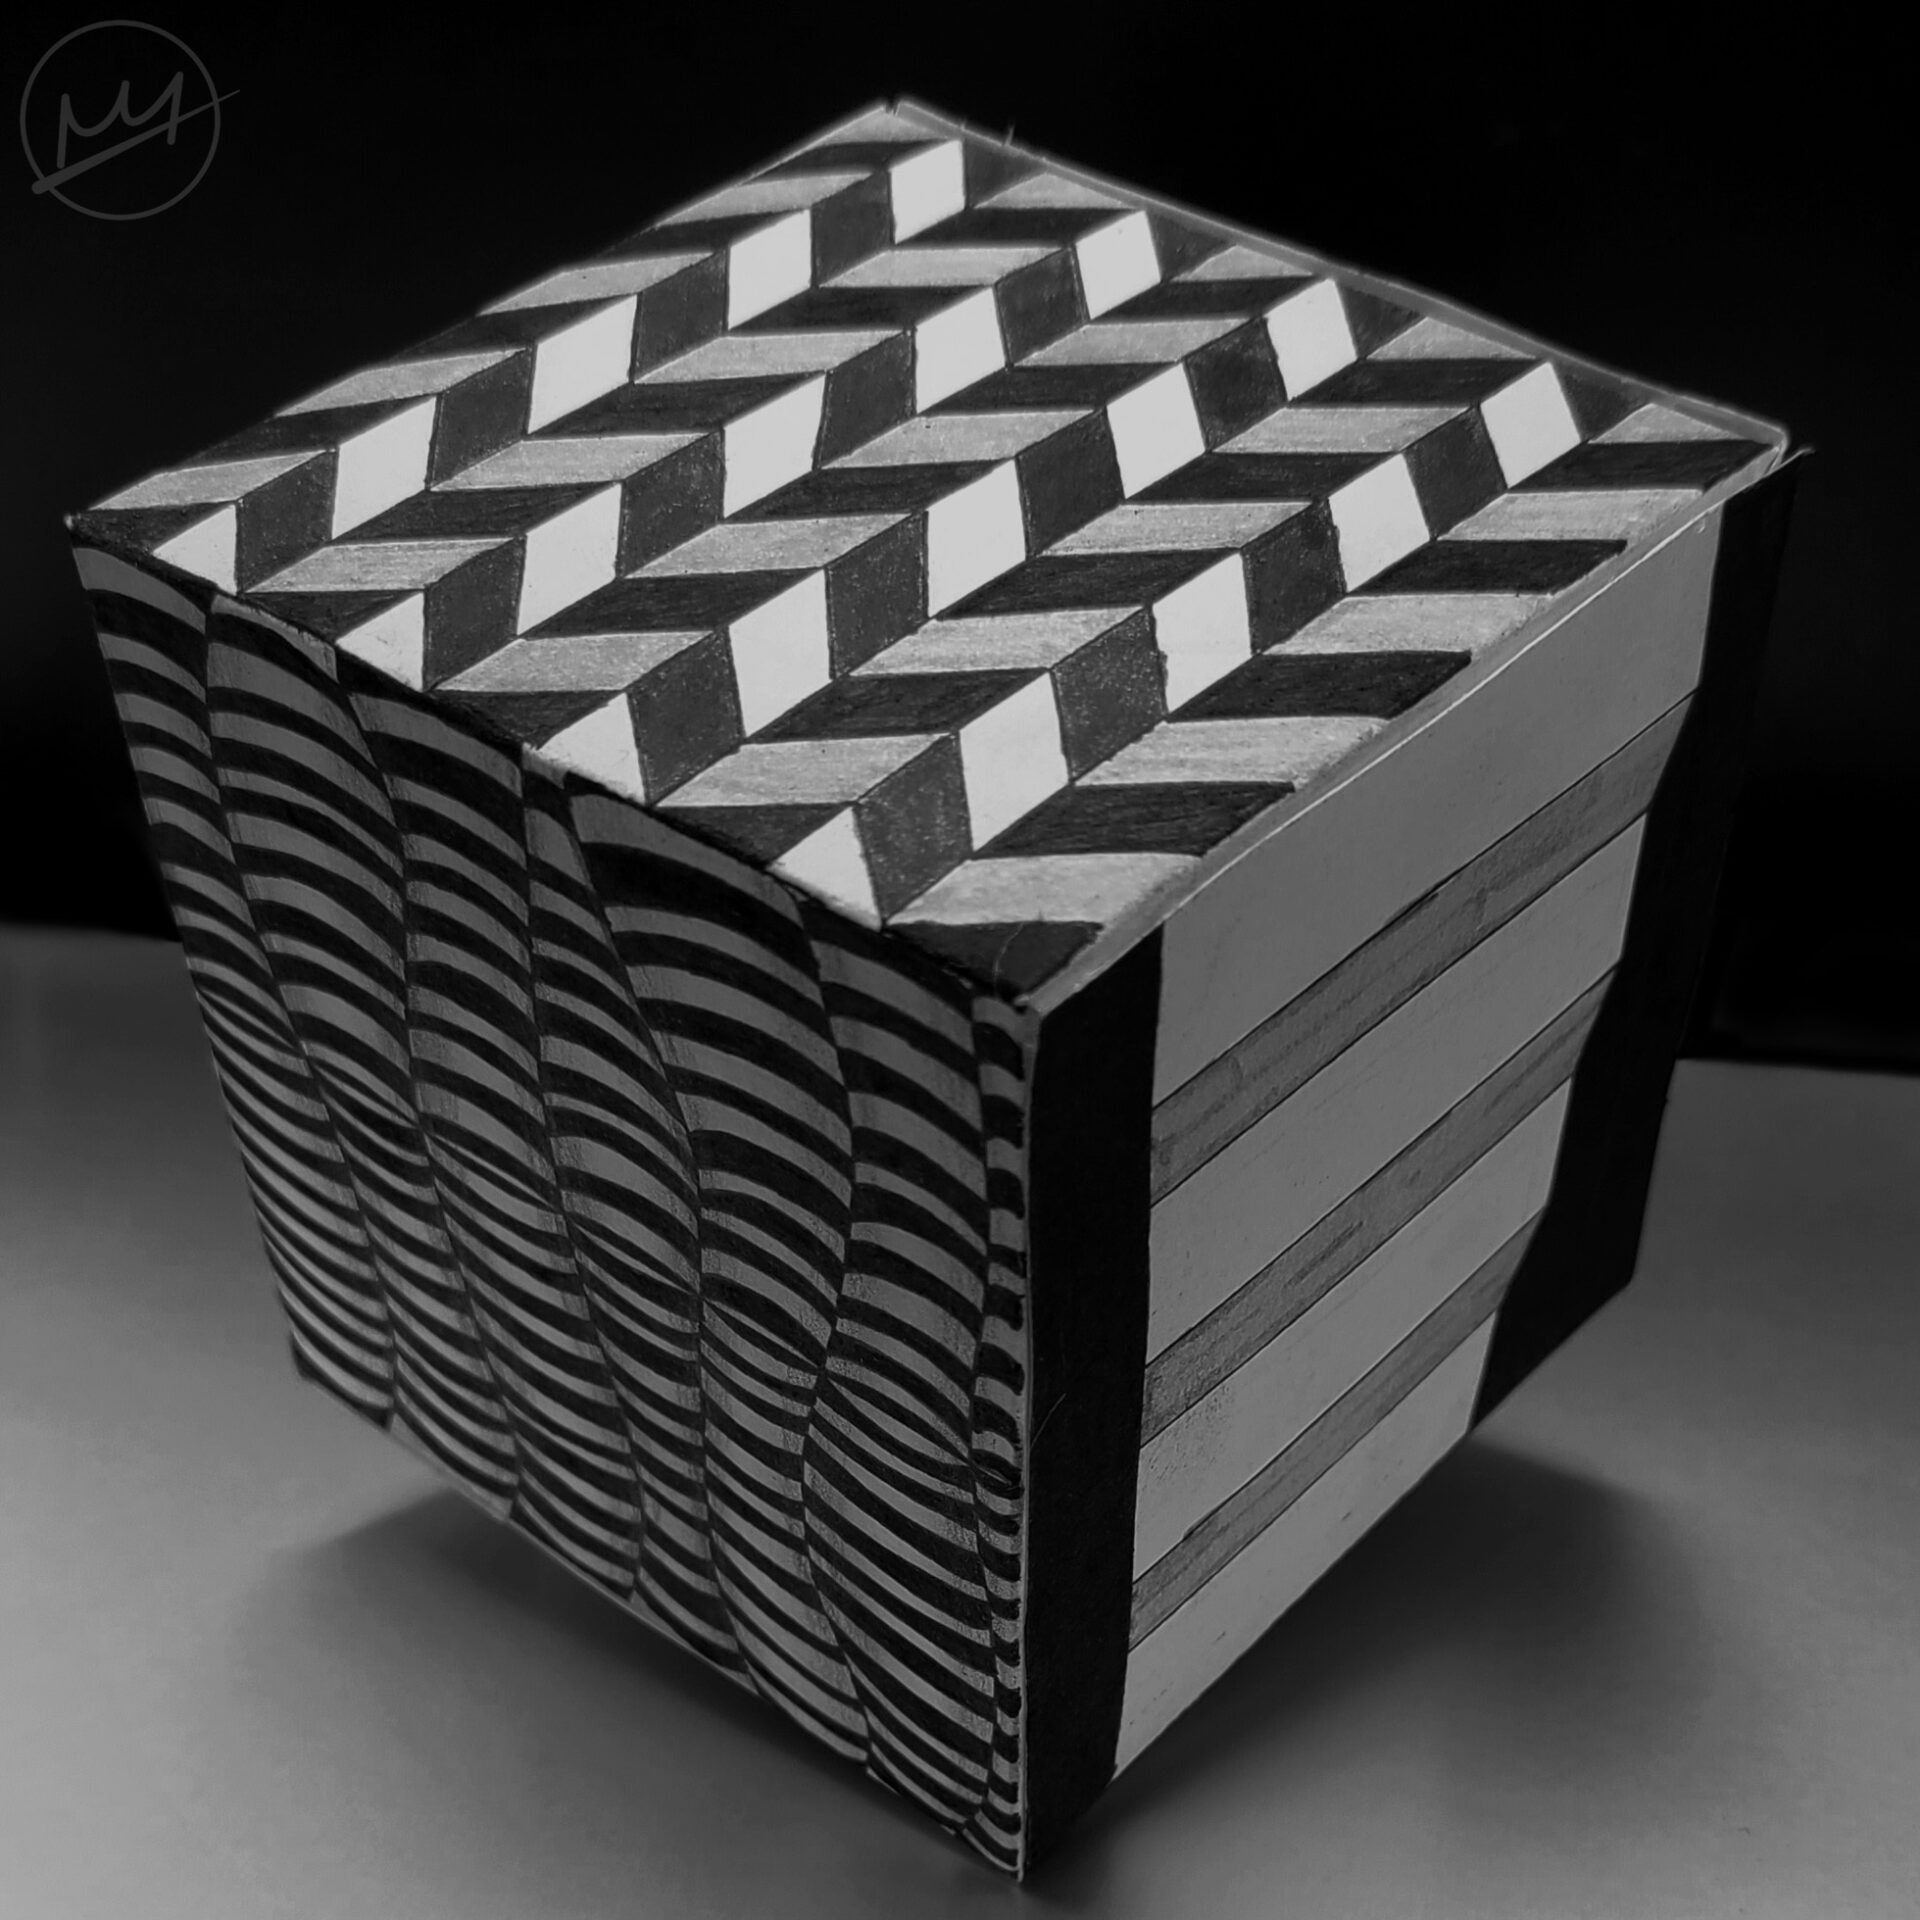
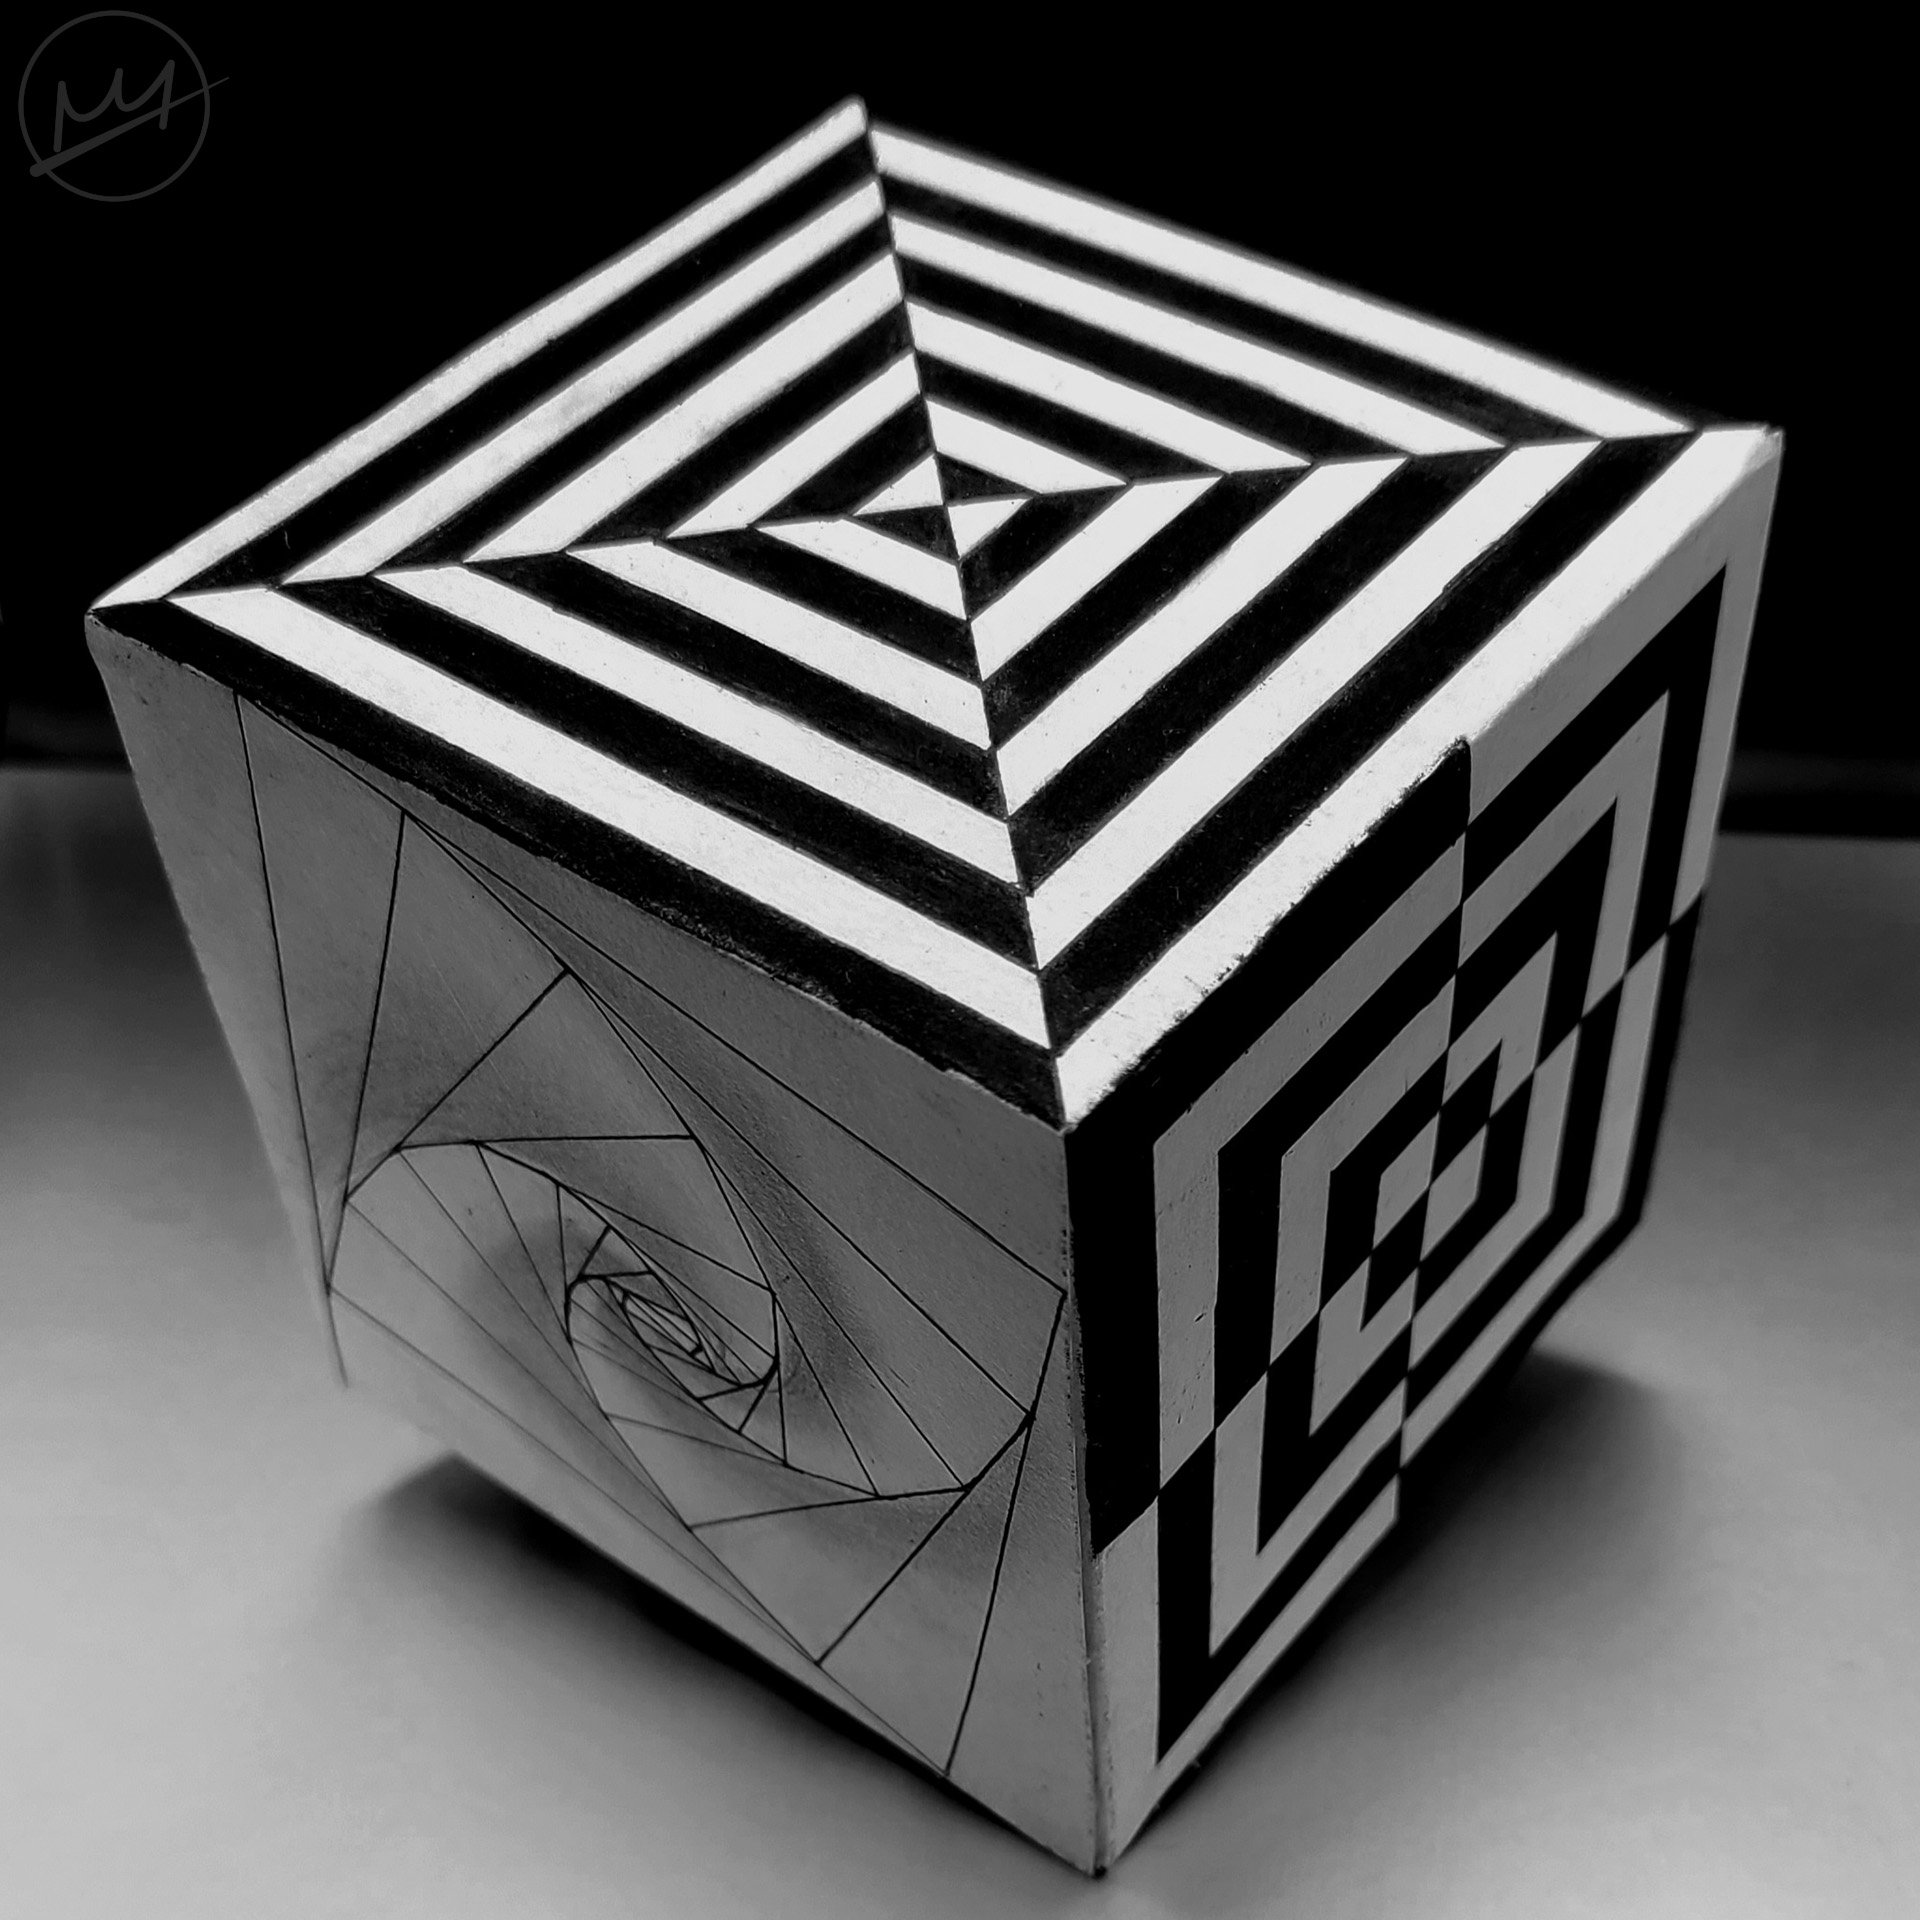
I made these cubes in an art class and turned the assignment into a photoshoot. On each side of the two cubes depicted in the photos above, is an optical illusion.
In This Page
Creating The Illusion Cubes
It’s relatively simple. The first step is to print out a cube template—preferably one with tabs so the finished product has a cleaner look to it. I had two copies printed: one on regular printer paper for practice and one on cardstock for the final cube.
Next, look up some optical illusions to draw. On the printer paper template, I drew an illusion in each box that would represent a side of the rectangle. Based on the illusion and the size of each side, I decided how large I wanted the illusion to be and drew the appropriate guidelines.
After that, I moved on to the cardstock template, redrawing all of the illusions. This time, however, I pressed lightly on my pencil so the guidelines and extra pencil marks would be easy erasable later. Then, I traced the drawings with a black fine tip marker, filling in any areas in black or with a gray marker.
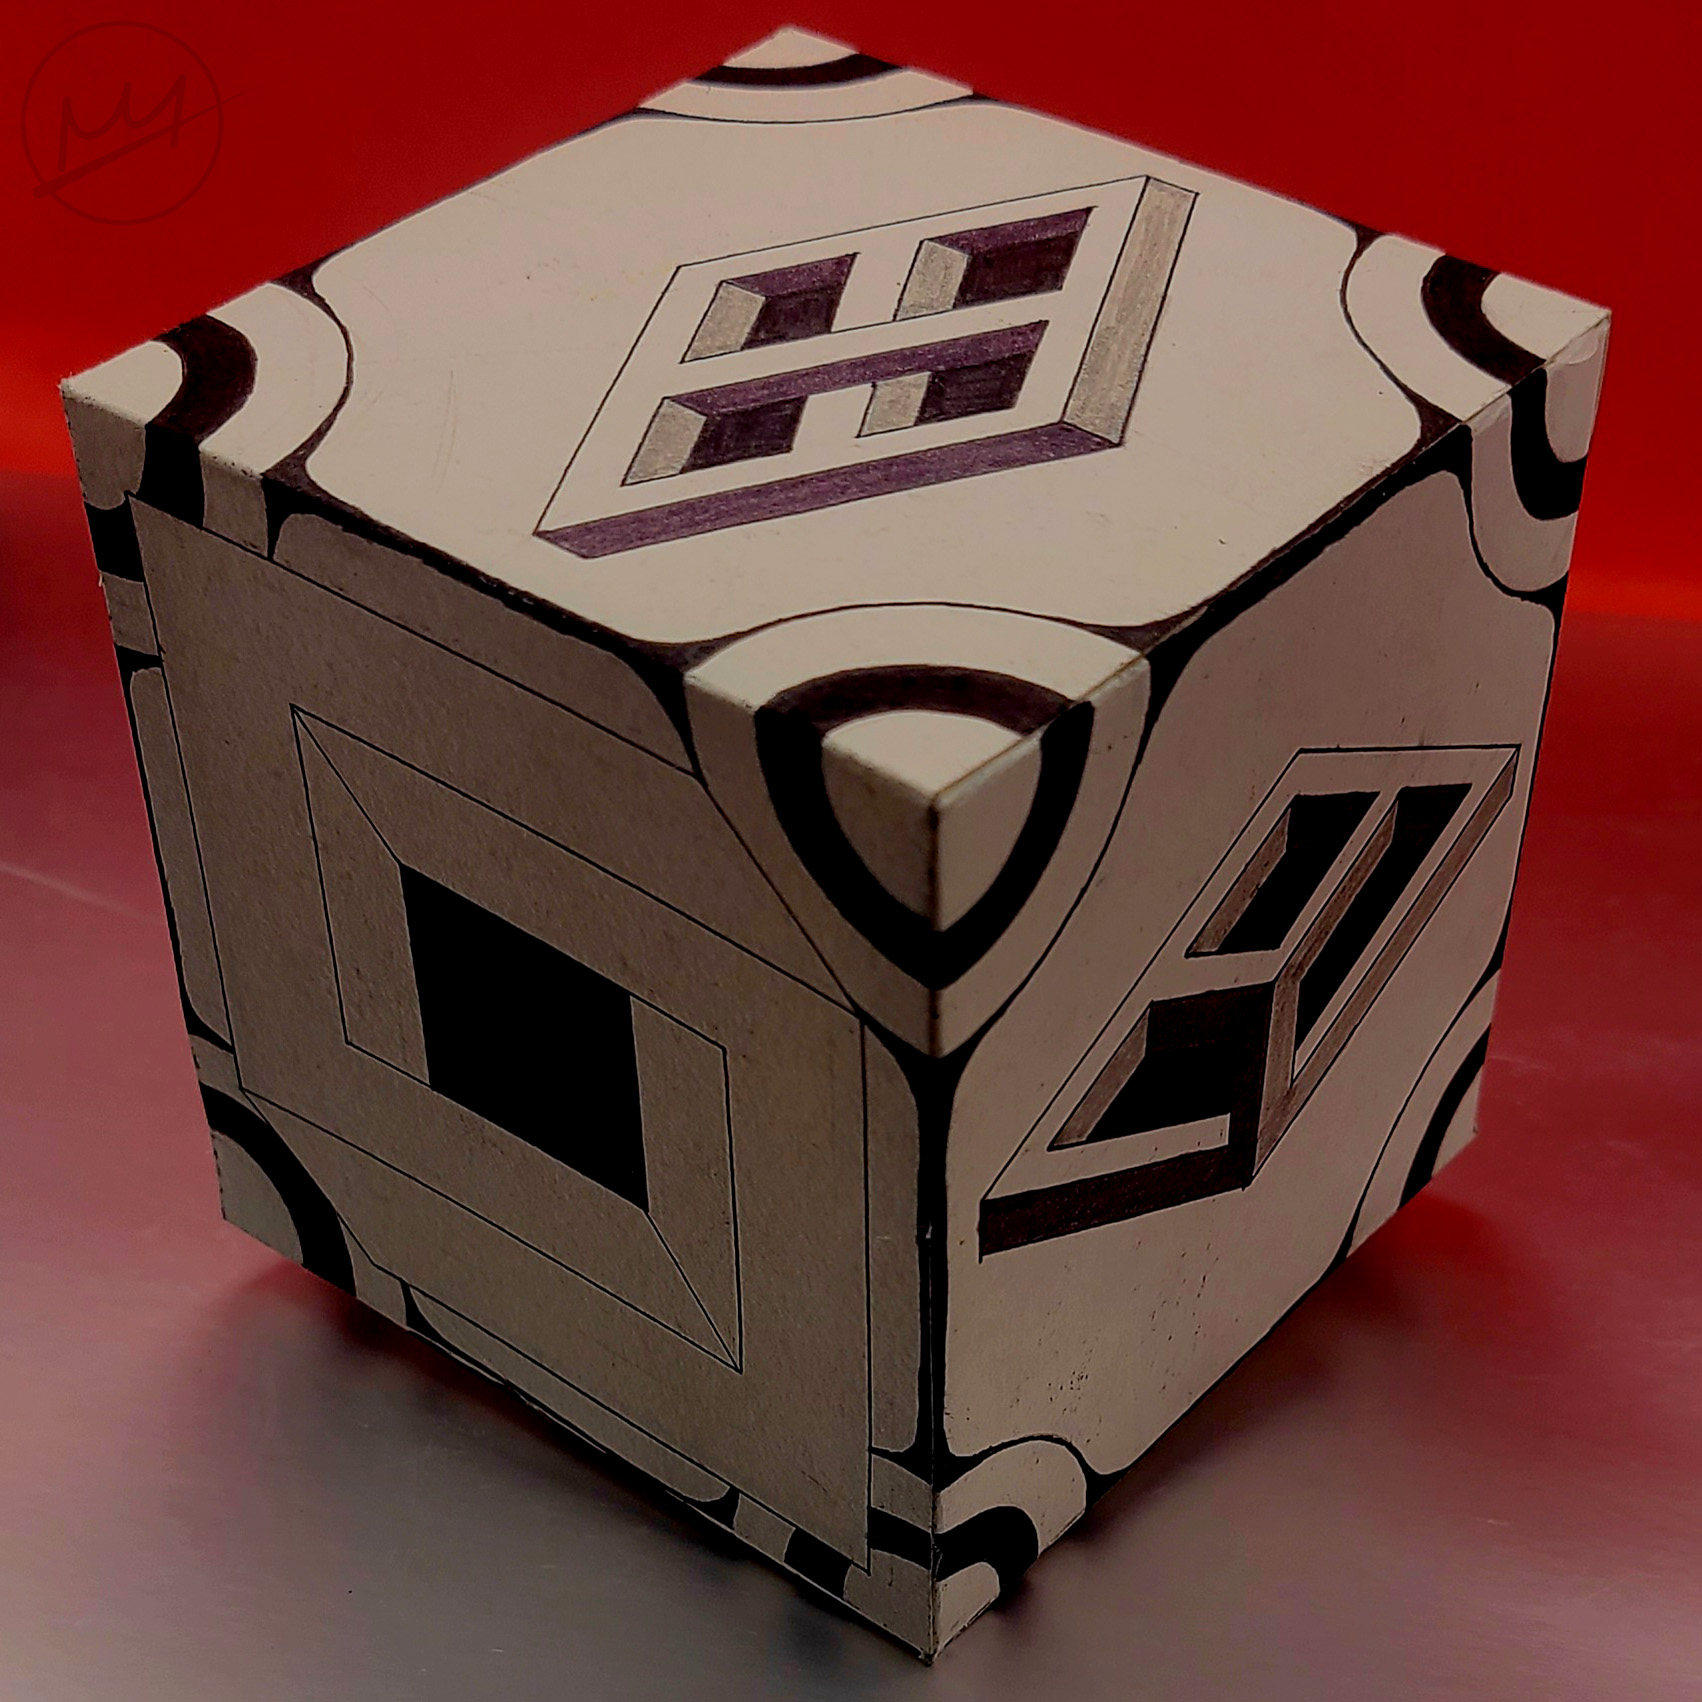
On one of the cubes, I added more detailing to the corners and edges. To do this, I traced around small circular objects like bottle caps and coins as various sizes to create rings on the corners. It was important to place the coins as close to where the corner of the cube would be as possible so the circle would line up once the cube was formed.
The final steps are to cut out the template and glue it together.
Photographing
To create this effect, I used a lightbox. Also called a white box or light tent, a lightbox is primarily used for product photography. The translucent white sides on the inside make it possible for professional looking photos to be taken with minimal effort. You can buy one or make one yourself. Here is a good tutorial on how to make one by Adobe.
Photographing With A Lightbox
It’s very simple.
- Set up the box and turn it on, so the lights illuminate the inside
- Choose a colored background if desired and place it inside the lightbox. Make sure it’s flushed against the back wall and the bottom.
- Place a bottom tile if desired.
- Place the object inside.
- Take photos
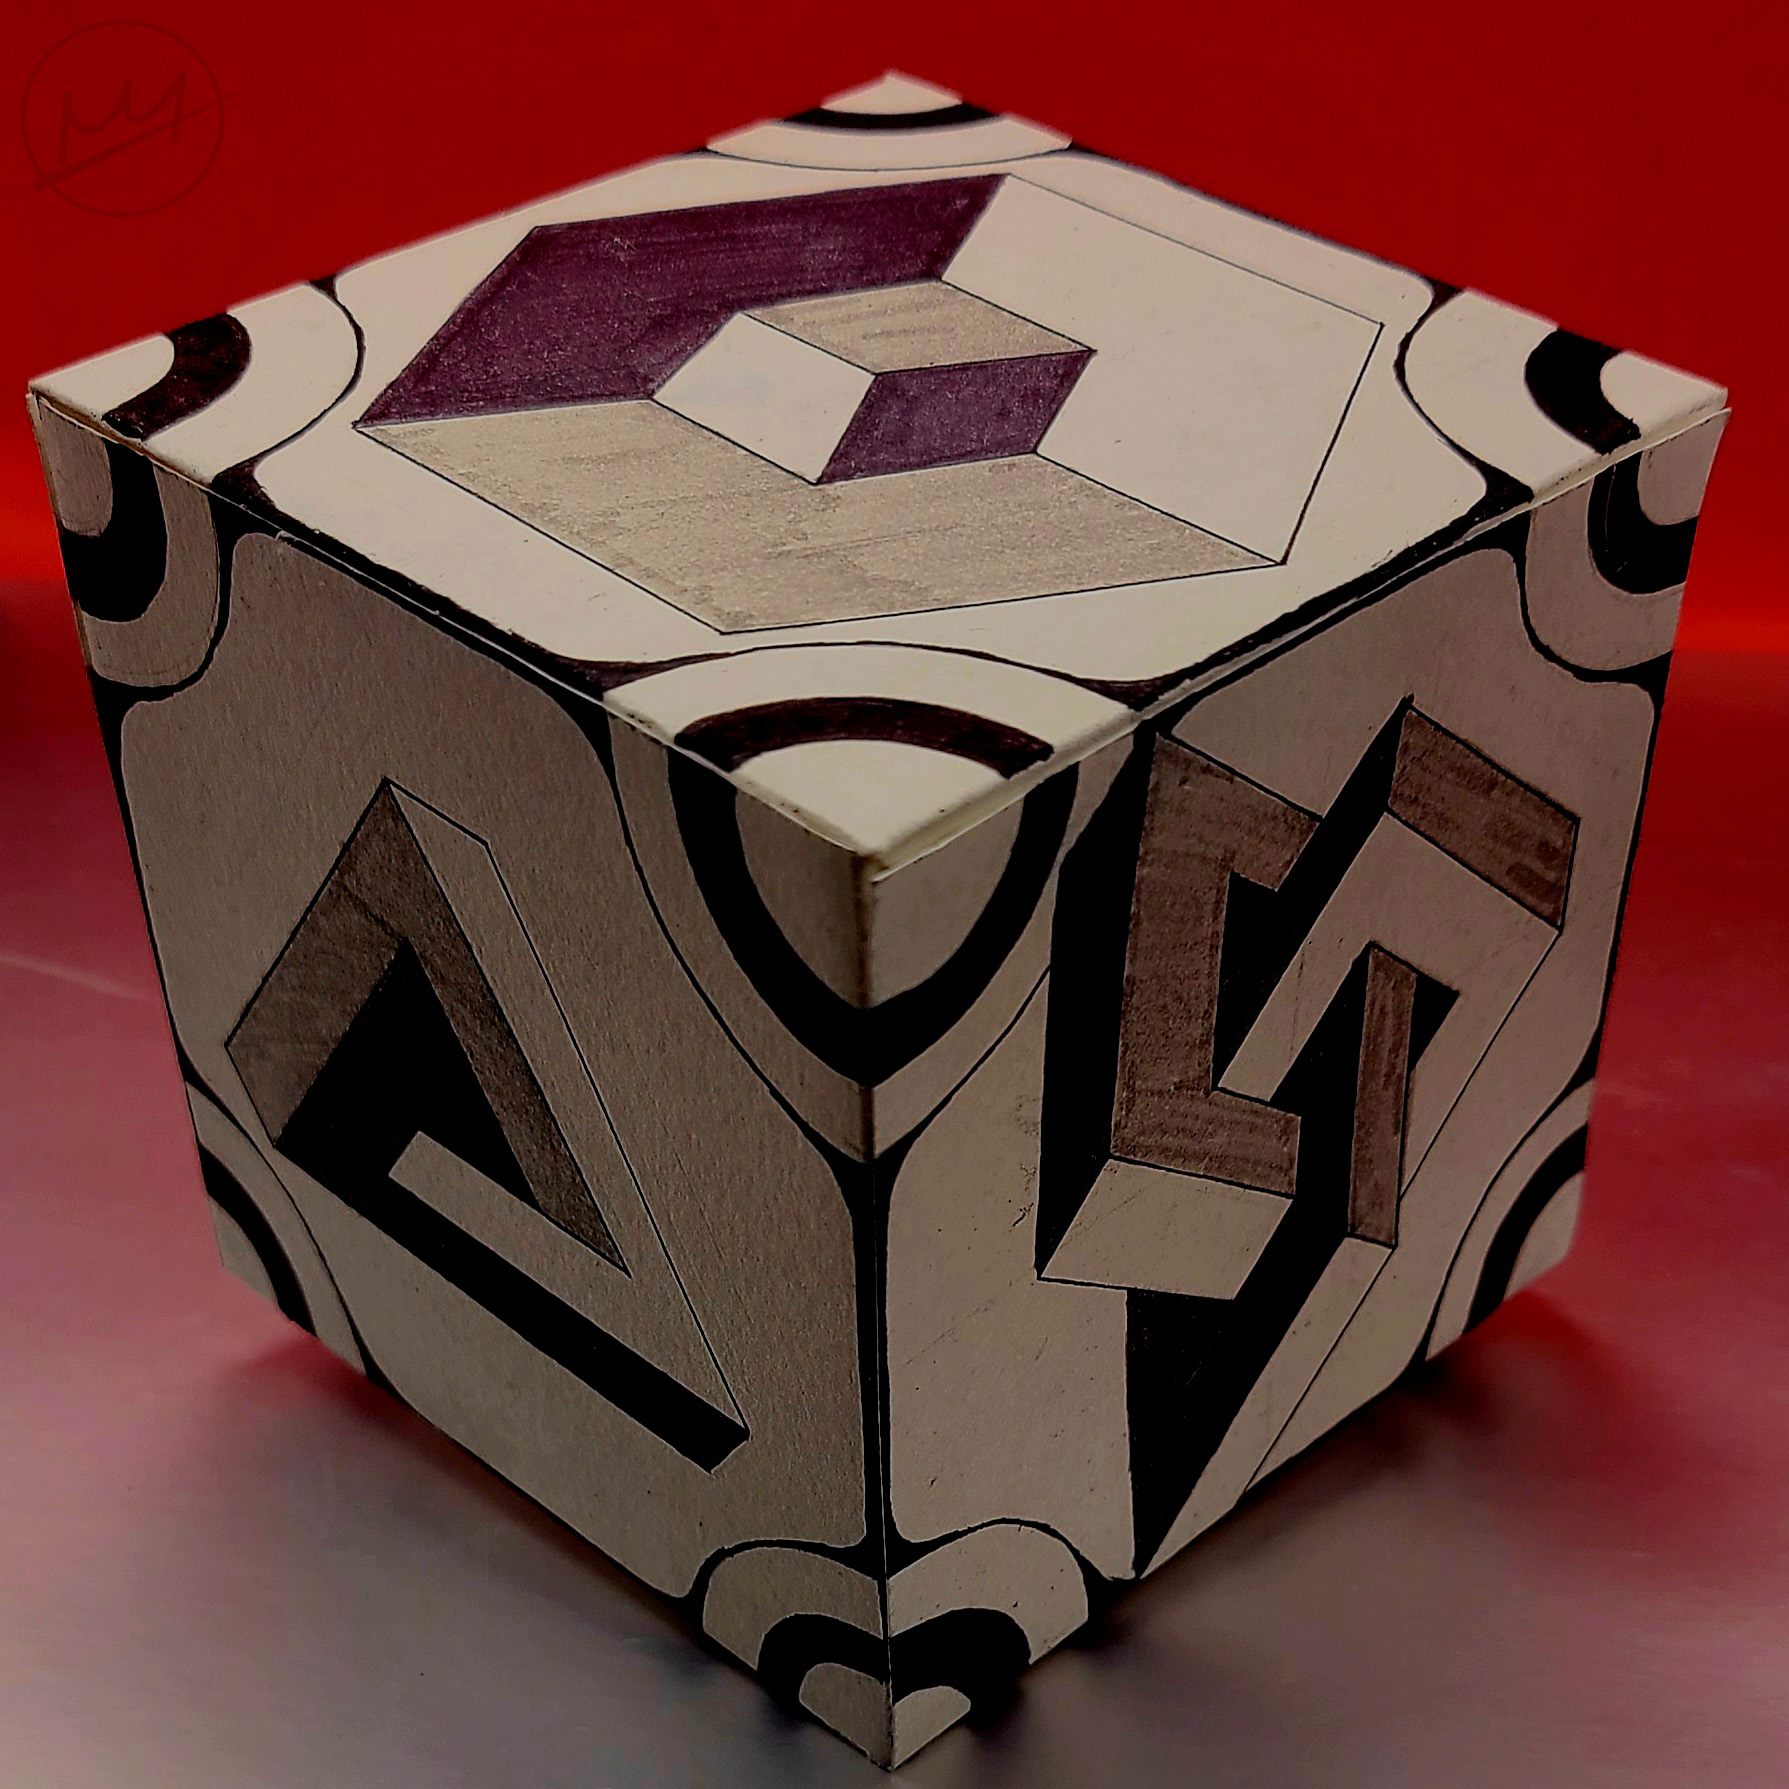
For my photographs, I switched between the black, blue, and red backgrounds. In addition, I chose a silver bottom that was slightly reflective. I placed a couple erasers underneath the back corner of the cubes to raise it up and photographed them.
Finishing Touches
The subjects take up nearly the entire photograph and the most important part was the lightbox effect so there does not need to be much editing. To finish off the photos, I cropped them using a 1:1 ratio and performed some standard corrections.
Phone
Auto Filter: Made the background color deeper
Decreasing Exposure: creates an even deeper background color
Increasing Contrast: makes the colors of the cube stand out more against the background
Decreasing Highlights: decreases the brightness of the lightest part—the top of the cube
Increase Shadows: accentuates the shadows—the shadow of the cube and the two darker sides.
On the desaturated photos, I also decreased the Light Balance to accentuate the shadows and create a wider range of values.
Photoshop
I went a step further and adjusted the curves in Photoshop as well. It’s about the same effect as adjusting light balance, brightness and contrast on a phone.