What Is Selective Color?
A photograph with selective color is an image that highlights one color while the rest is in black and white (not to be confused with a monochromatic photo which is a photograph using shades of a single color). This editing technique draws attention to a specific part of the image.
Preparing The Photos
To create this effect, two photos are needed: one version without color and one version with color.
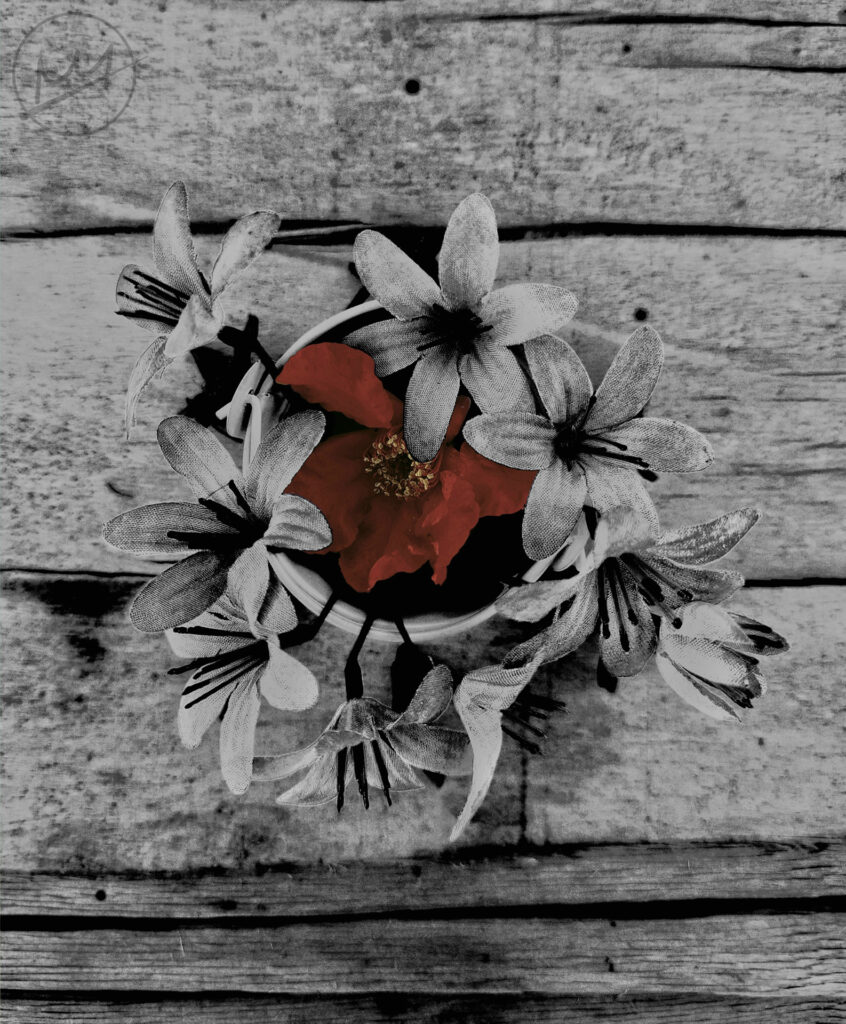
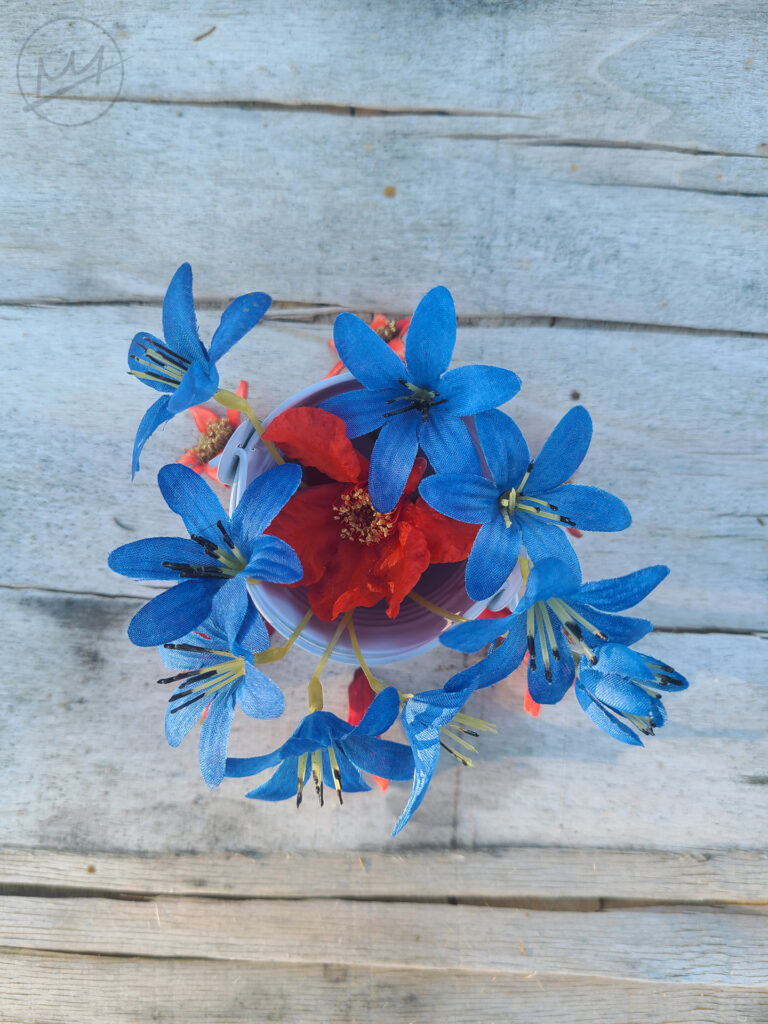
I started by arranging some flowers on some wood and taking a picture from above resulting in this picture:
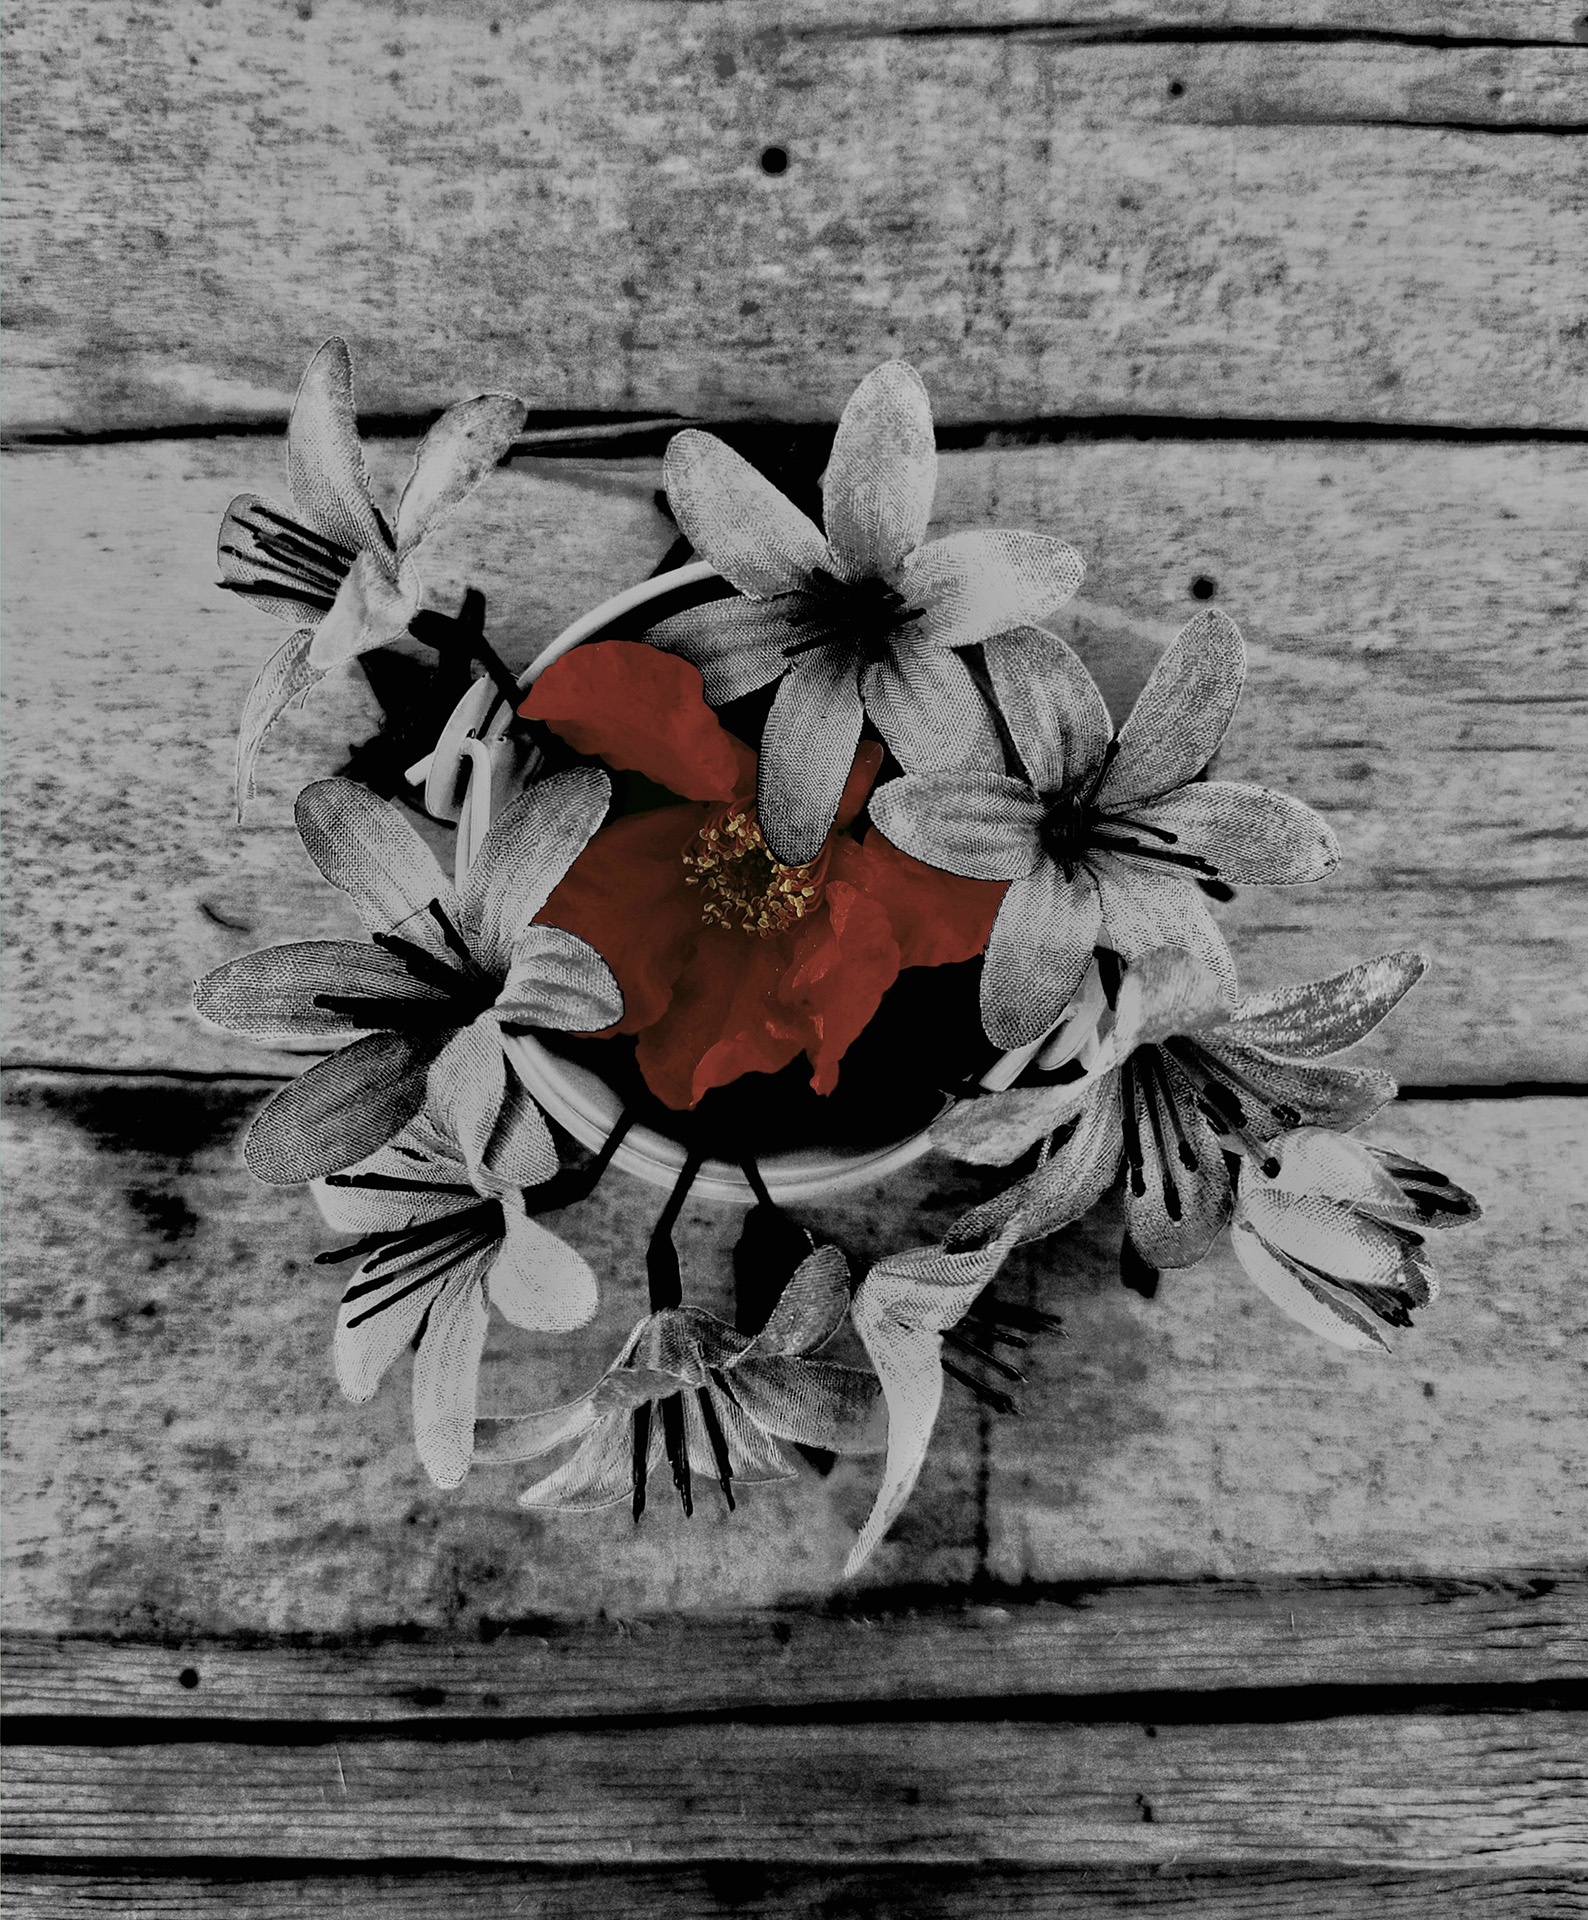
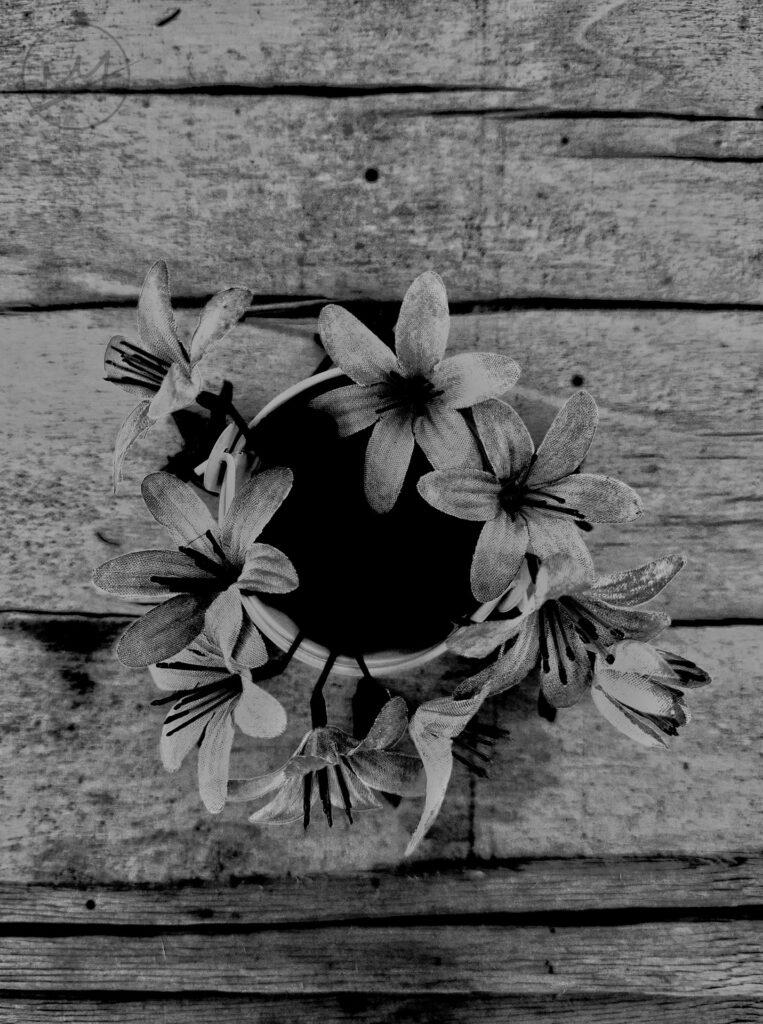
From that photo, I created the following photos:
Selecting The Color
Once the two photos are made, it’s time to put them together. I originally created this photo on a phone, but it’s possible to do the same thing in Photoshop.
Phone
I imported the photos into a free drawing app called Ibispaint. The black and white image should be on top of the colored version. I turned the opacity of the top image down to see the color underneath and erased the mid portion to reveal the red underneath. Towards the middle, I used a larger hard brush. Once I got closer to the edges, I switched to a smaller airbrush to leave a smooth finish.
Another way to do this would be to go to the selection layer and color in the flower(either with the Brush or Paint Bucket tool) which would select the area, return to the black & white image, and erase the area with a larger sized eraser. This method, however, leaves a pixelated edge which would need to be smoothed out by erasing some more with an airbrush.
Photoshop
To achieve the same effect in Photoshop, the process is the same except instead of erasing parts of the photos, masks can hide the pixels we don’t want to see.
Place the black & white image on top and create a mask for that layer. Select black as the color(white reveals, black conceals), decrease the opacity and color over the red flower to reveal it from underneath.
Another of doing this as well is to hide the black & white layer so the colored layer is visible, select any selection tool and enter “Select and Mask” mode. Then select the red flower, making sure that the output is set to “Layer mask.” The top black & white layer is what should be masked so all that would be left would be to click and drag the mask from the colored layer to the black & white layer.
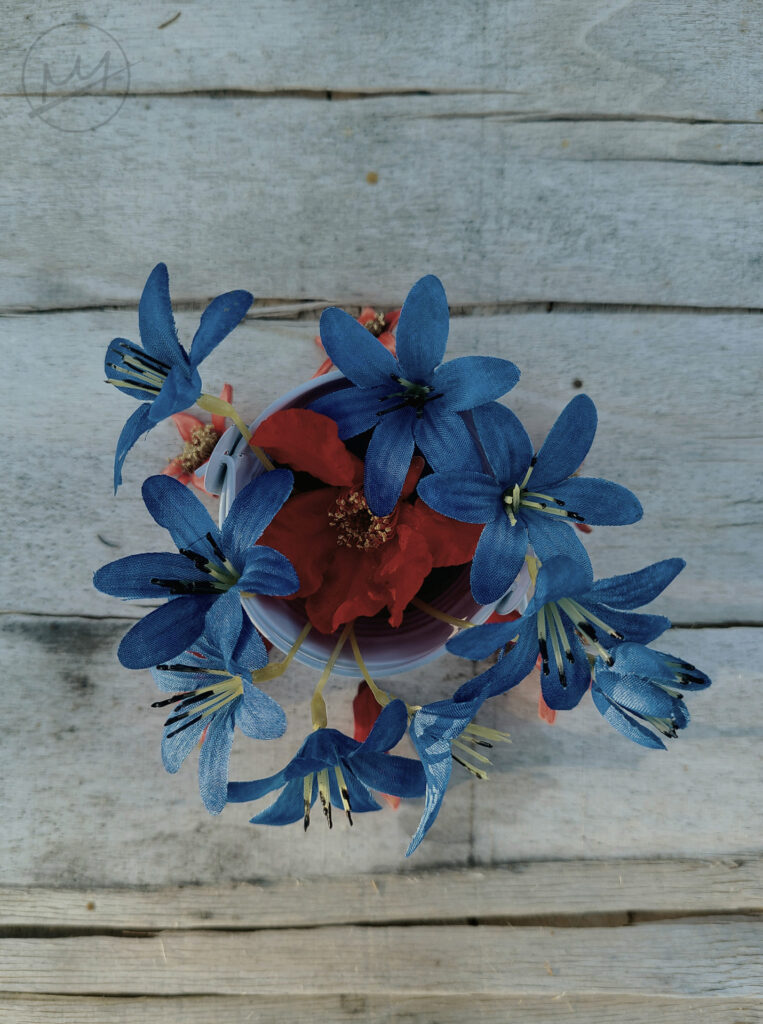
Here’s the final version: