In This Page
One of my early goals as a photographer was to shoot a photo where the subject seems to emerge from darkness. Here, I’ve done it.
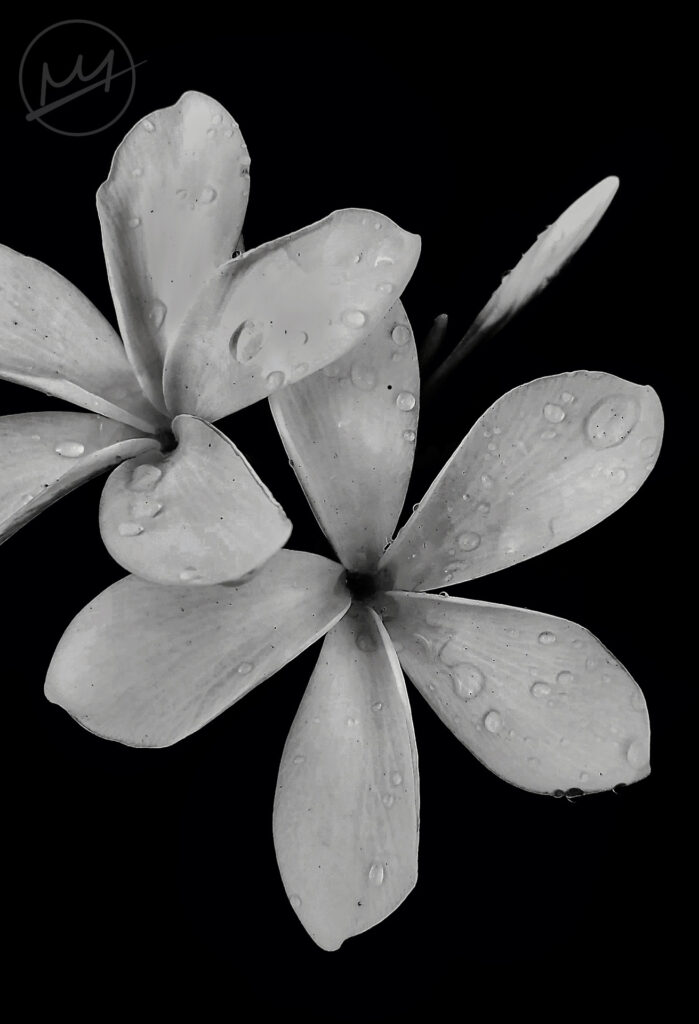
The first step is to take a photo. Here I have taken a photo of some white flowers. This is a very tall photo so it will need to be cropped. Our goal is a subject that sustains the attention of the viewer as it will be the only thing visible from a background of only black so the saturation must be taken all the way down as well.
There are a couple ways of doing this. The first is to edit the photo to your liking and then remove the saturation. It gives a soft muted look.
Preparing The Image
The first step is to get the flower to look how we want it to before working on the background.
Phone
The way I achieved the completely white flower was through some simple adjustments.
Decrease Saturation: All the way down desaturates the image
Decrease Light Balance: Taking it down all the way decreases the brightness of the background and increases the brightness of the flower while also making details such as the water drops more evident and crisp.
Increase Contrast: This defines the shadows on the shadow and decreases the brightness of the background again. It’s almost completely black.
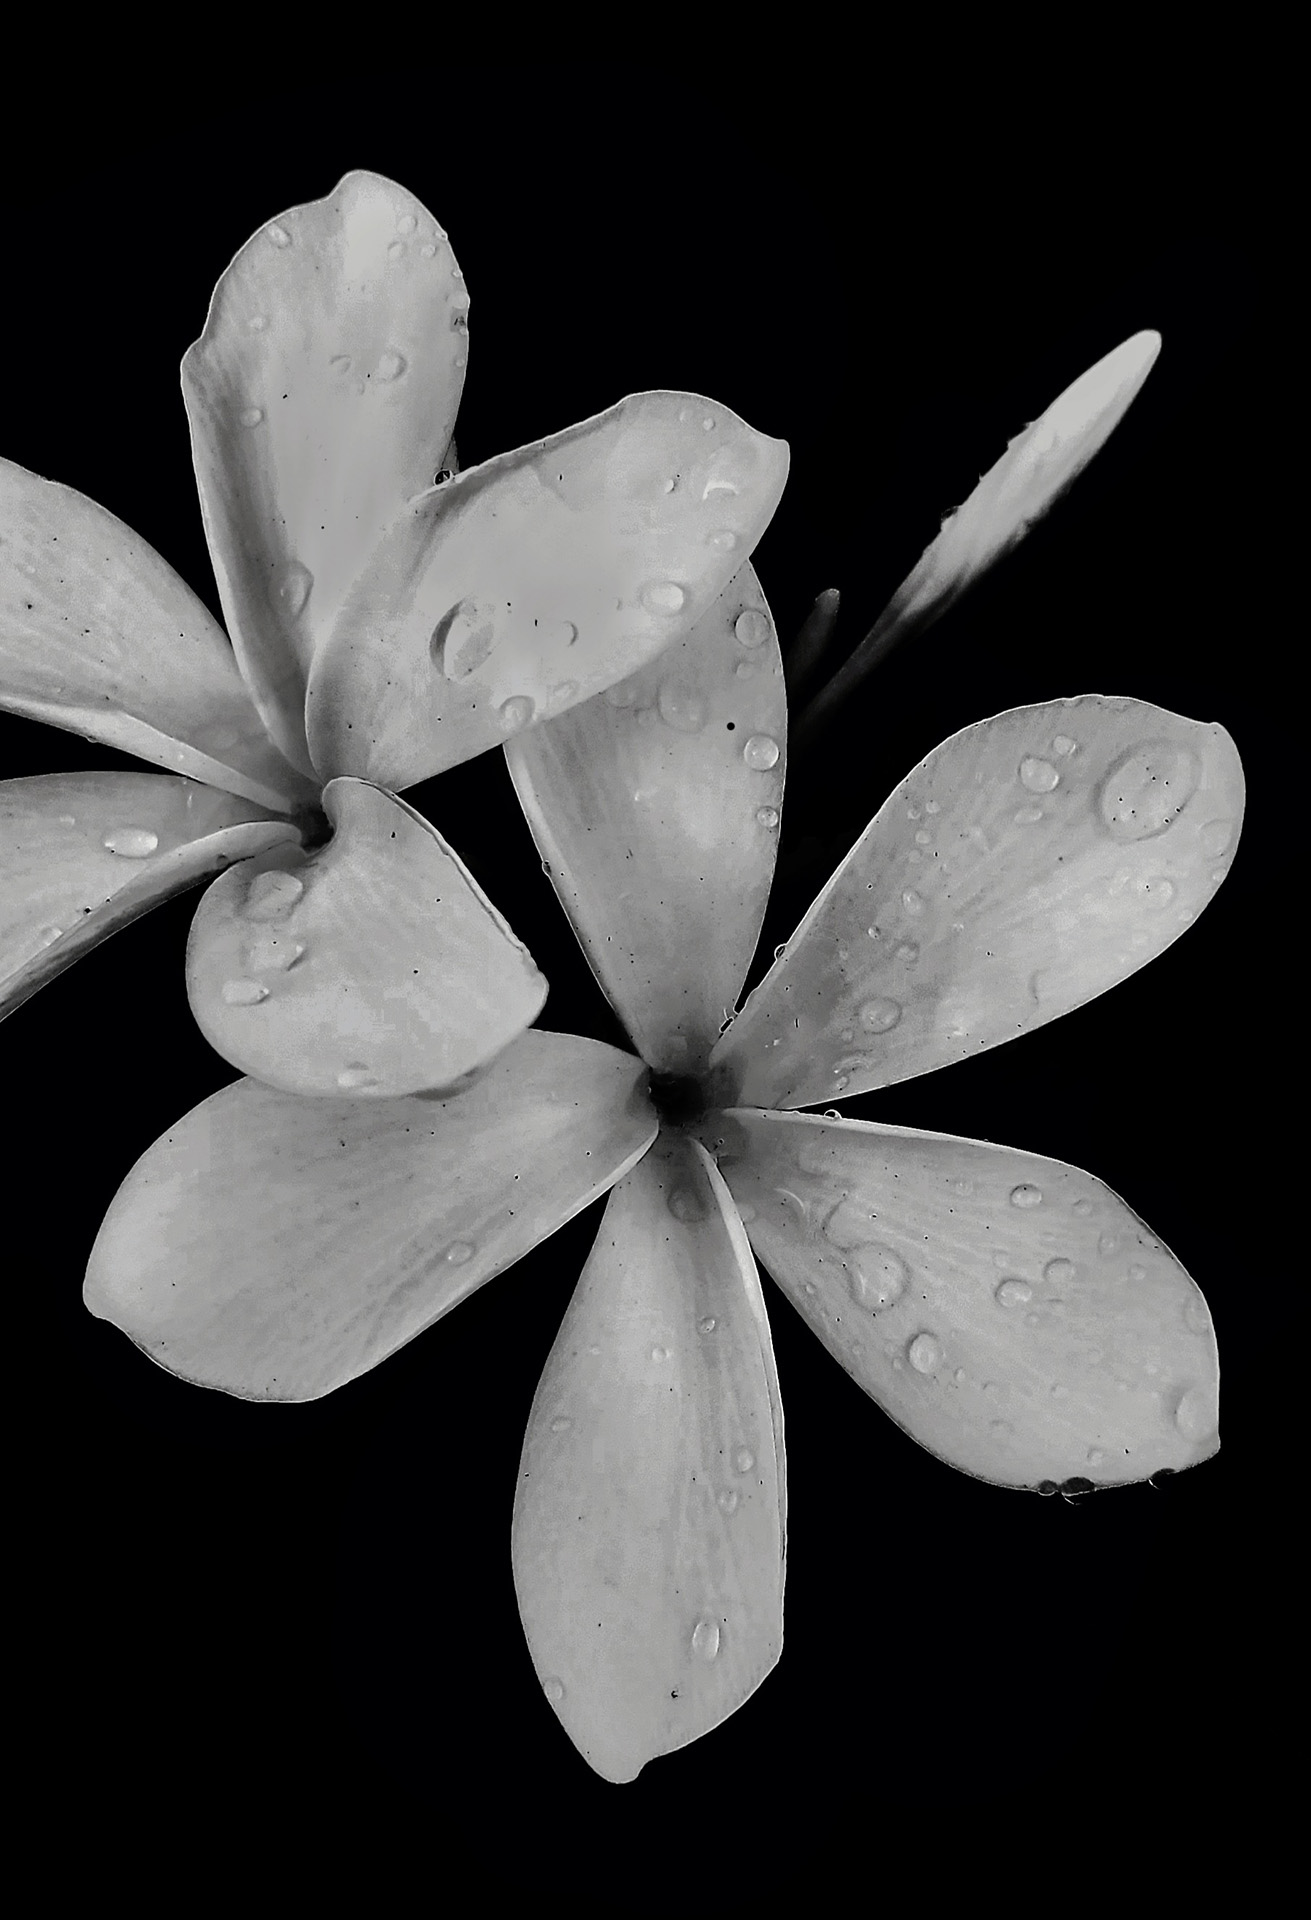
After this, I am left with this image:
Photoshop
Here, it is simpler: just two filters—Levels and Black & White.
Open the image in photoshop and create a Levels adjustment layer. Take the dark triangle(shadows) and drag it nearly to the center and the white triangle(highlights) inside a fifth of the way inside. Here are the exact numbers:
Shadows: 102
Midtones: 0.74
Highlights: 205
The photo looks terrible with just levels so next, add a Black & White adjustment layer on top of it. Here, you can adjust the brightness of each of the colors while the image displays as black and white. I used the following settings:
Reds: -30
Yellows: -75
Greens: 0
Cyans: 25
Blues: -9
Magentas: 0
I am left with this image:
These two versions are slightly different. The phone version has a darker background—it’s nearly completely black—while details such as the leaves towards the bottom left are still visible in the Photoshop version. When it comes to details such as this, go with what you prefer.
Fill In The Background
Phone
Taking the photo into Ibispaint, it’s time to paint the back completely black. Our version is already nearly black so there’s only need for a small amount of painting. I filled in all areas that were not completely black as well as the small white flower to the right middle of image.
Then, I switched to an airbrush and slightly painted black over the really white petals. This was mainly on the left most flower. Other small details I added was lightly painting black in the centers of the flowers and I cropped the image.
Photoshop
To fill in the background, the Brush tool(B) can be used. The Dodge and Burn Tools (O) darken and brighten the image or a filter with a mask can do the trick. Crop Tool(C) to remove some of the length and the photo is finished.